A beautifully made 3D rendering of any space not only serves as a great presentation and marketing tool for real estate developers but can as well increase and speed up the sales of a new upcoming project. 3D renderings can be used for any kind of real estate development: apartment houses, restaurants, creative spaces, skiing resorts, hubs, commercial buildings, hospitals, public spaces, or even bridges and roads. 3D rendering helps to show the future project in the best possible way: you can make a perfect golden hour perspective, add any details, any surroundings, and can cozy it up, so your future clients will fall in love with your real estate development and will buy a piece of it.
With 3D software, you can make 3D interior visualization, 3D exterior visualization or 3D video. If you really want to spice it up, the virtual reality tour is the final step in the real estate project presentation.
So what do you need to make a perfect and outstanding real estate rendering?
The process of making real estate rendering for interior and exterior differs a bit, so we will talk about it separately. Find a full guide.
How to make a stunning interior rendering for a new real estate development?
To make a beautiful interior rendering you will need to have and provide such information to your 3D designer:
- The drawings. It is really important to know all the measures of the space. AutoCAD drawings are the best and the easiest to understand, but if you only have PDF drawings or drawings in any other format – that is not a problem as long as we have the measures and elevations. A good designer can even start working with some hand-drawn drawings as long as it has the needed measures. Revit or 3D models are as well very welcome, but the best is if those 3D models are clean and without too much additional information.
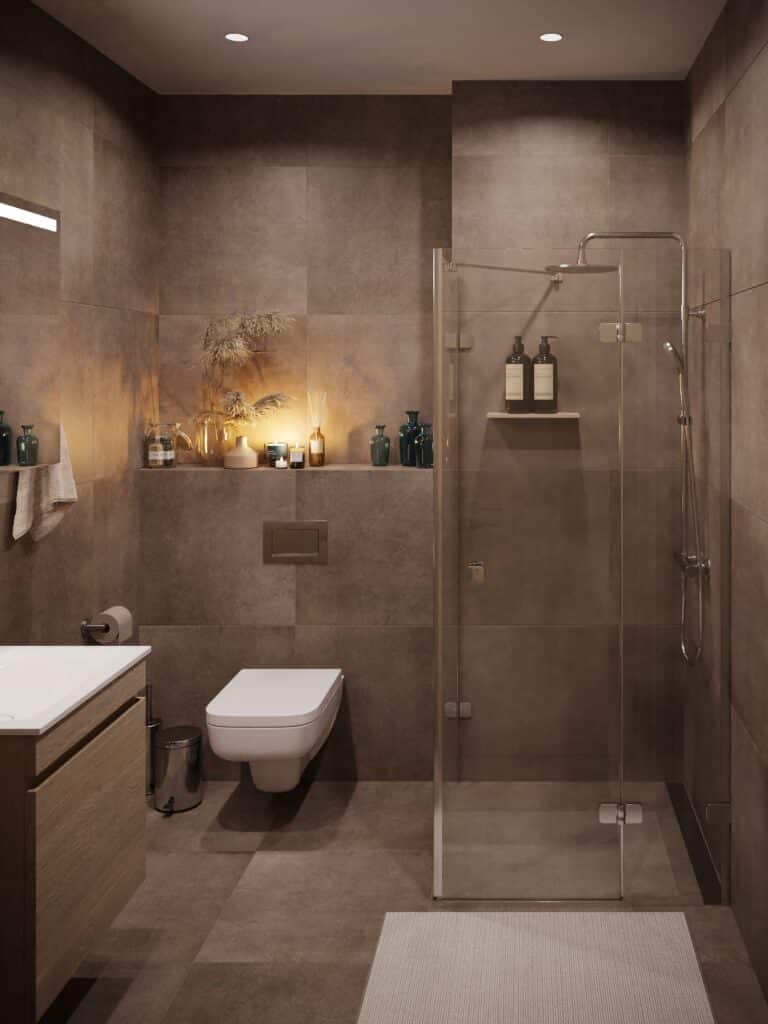
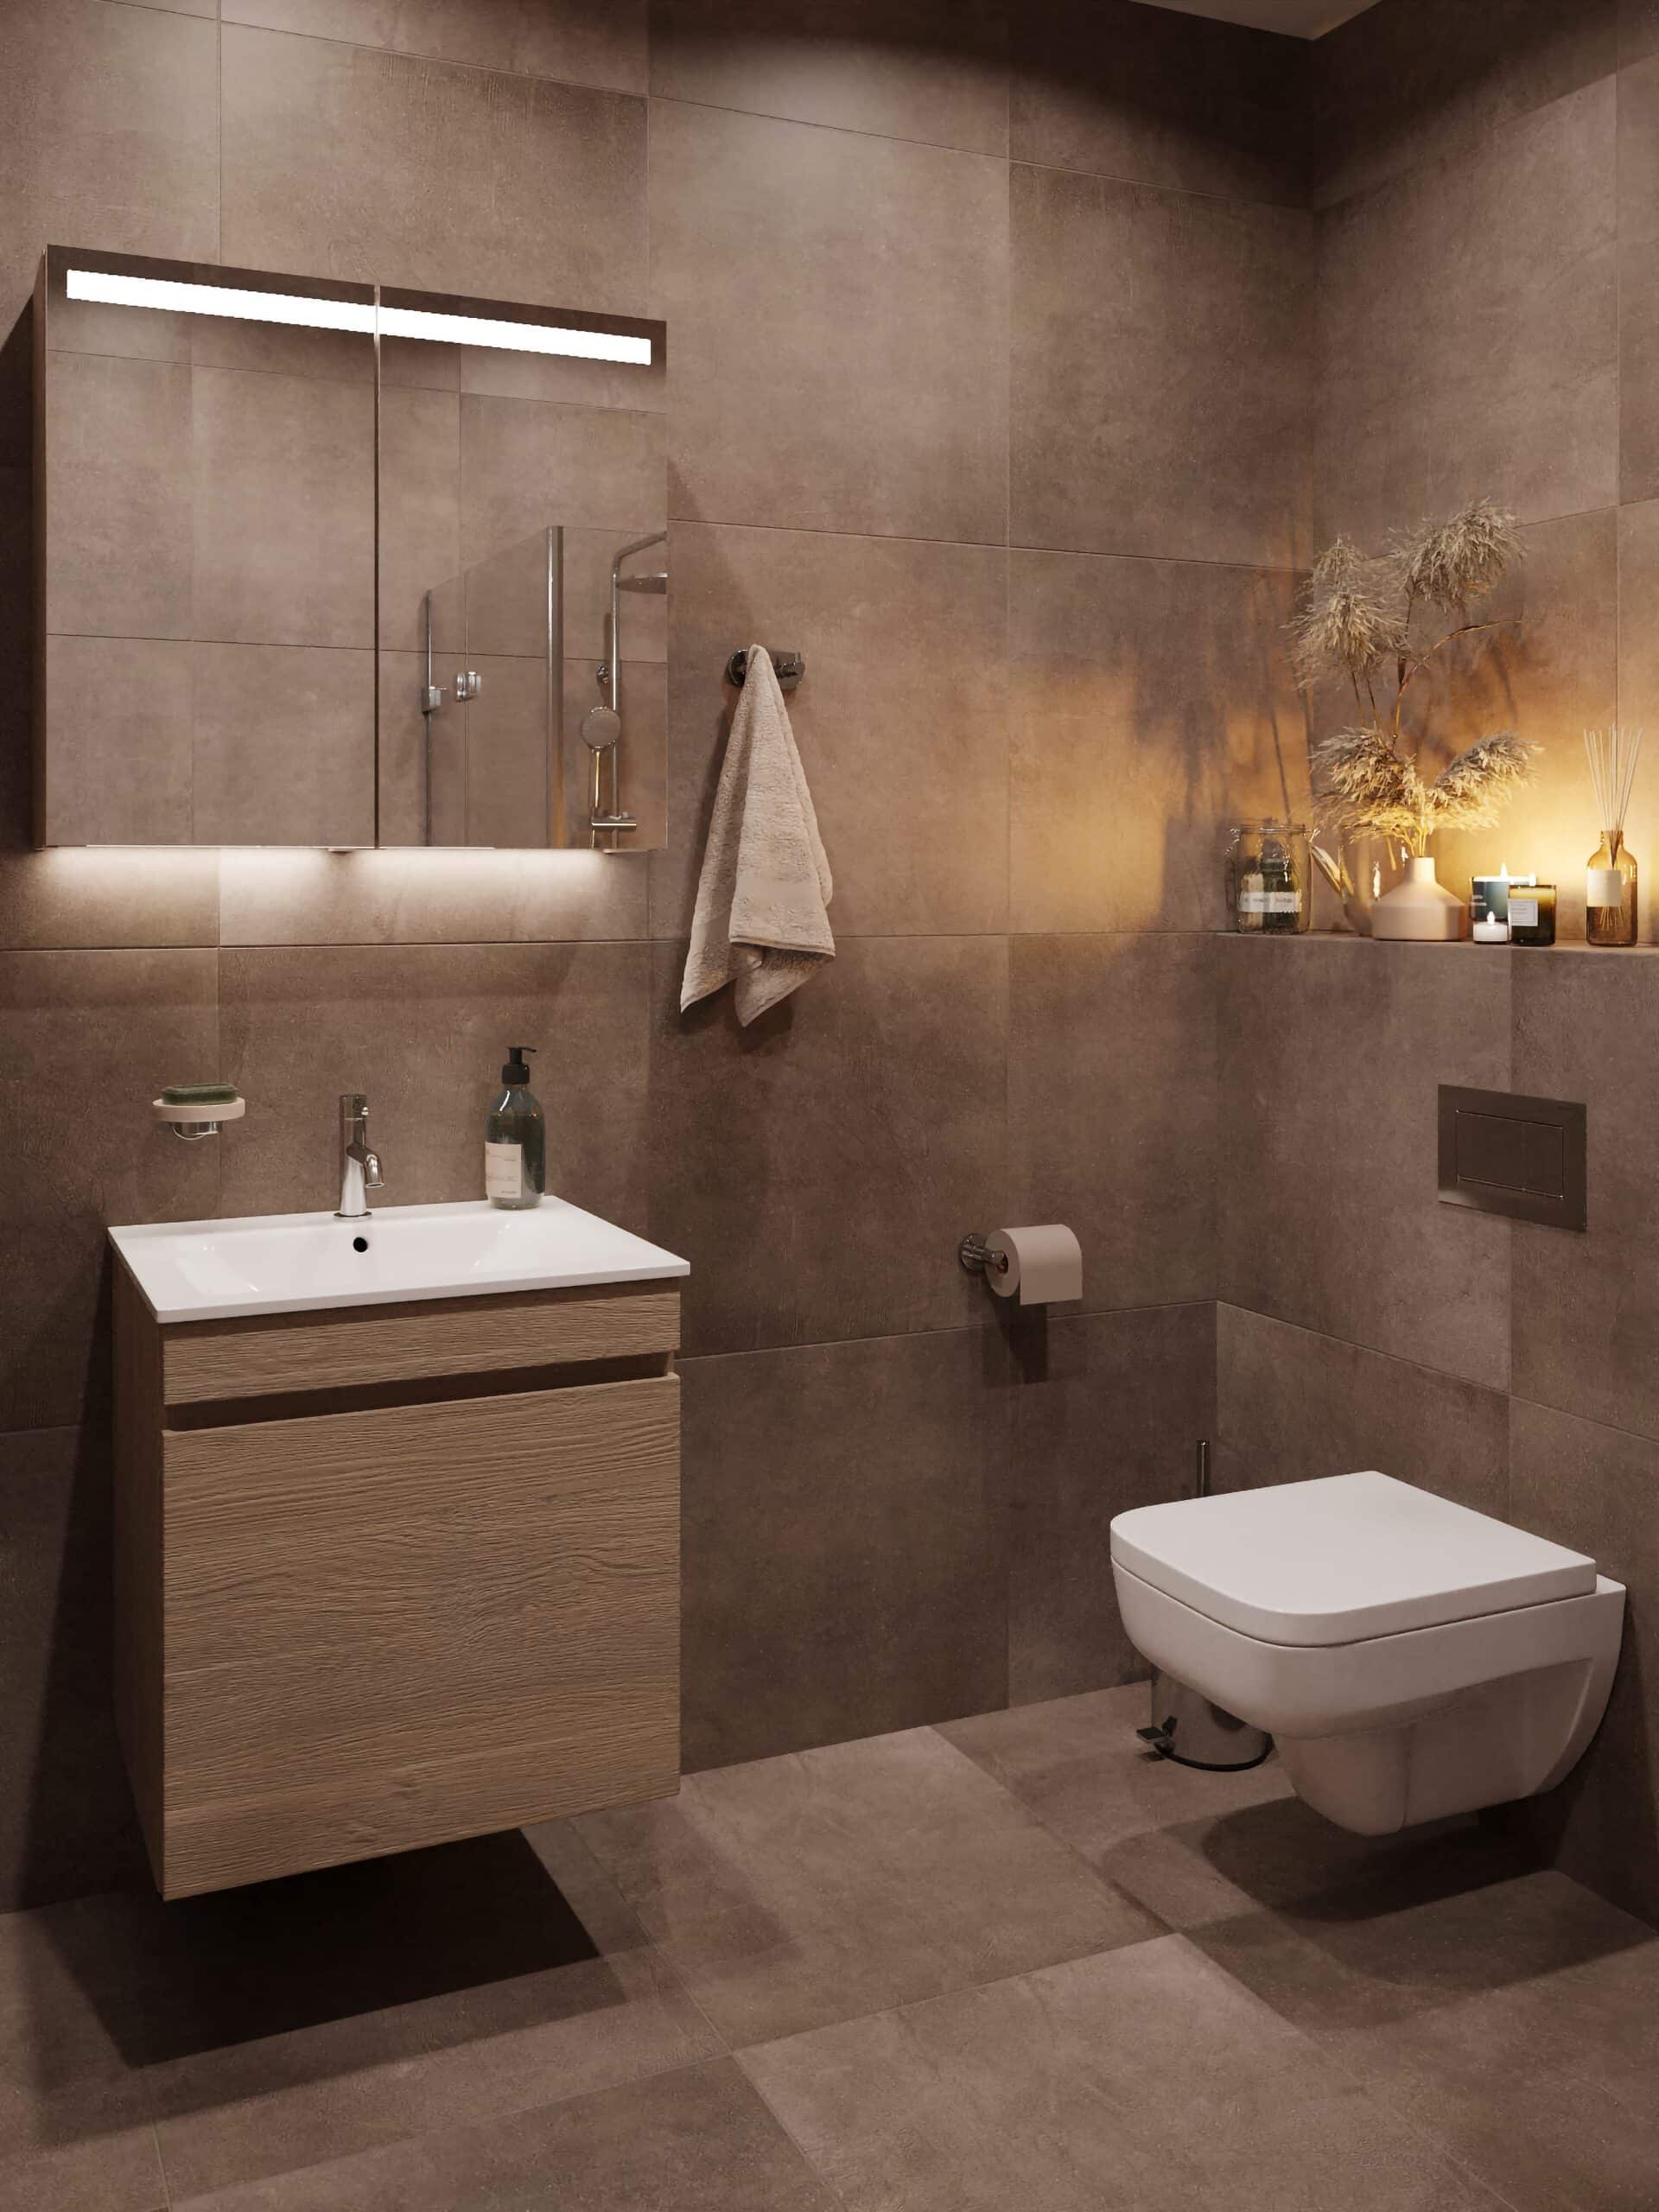
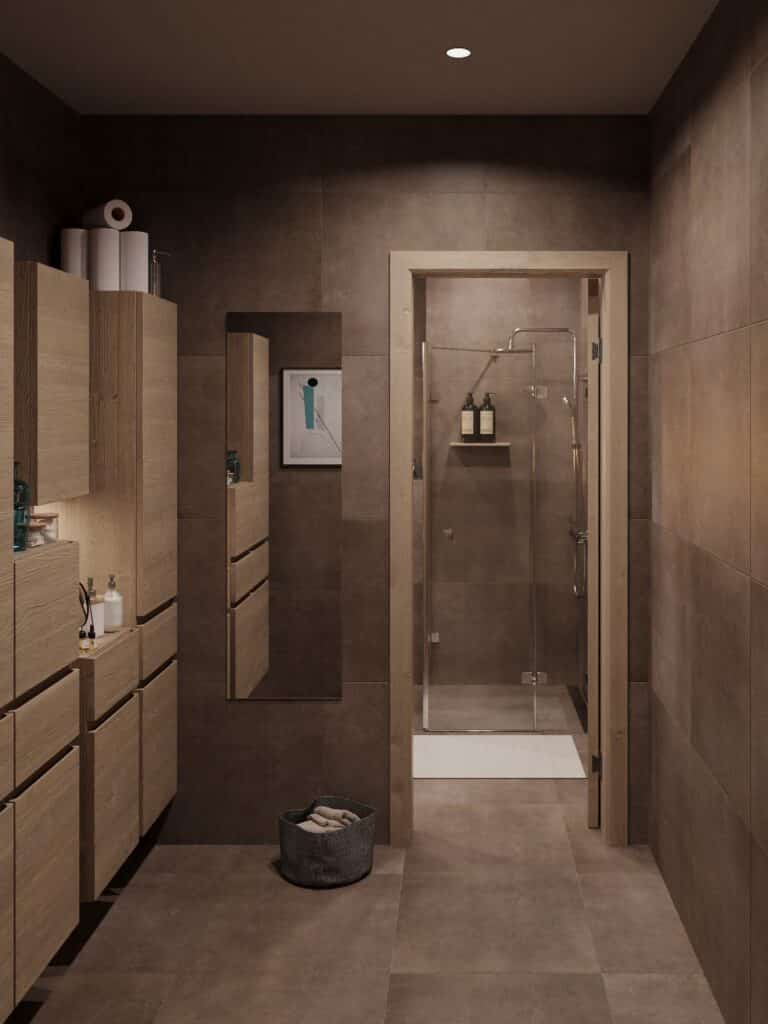
- Angles/perspectives. It is very important what kind of perspective you want to show of each room or space as it defines how much stuff and details are seen. Do you want to show the full kitchen or do you want to show the view from the window? These can be two different selling points. You can show the full living room set up or just a specific detail seen from the table corner and so on. You can define specific design detail or art. Just have a look below at one quite small bathroom space we have done. We did 4 different 3D visualizations of the bathroom and each of it has a different perspective, idea, and feeling.
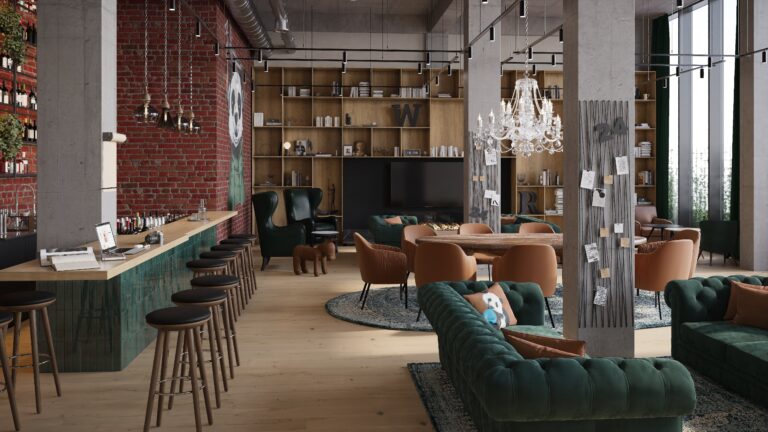
3. Lightning. Lightning can be a tricky part if you go the wrong way, but there are always ways to fix it and improve it. You can always simply choose the daylight coming from the windows, but if you want to set up a special mood, you can use the lights coming from the fireplace or some special design elements. It can even be neon signs or some specific lamps you would like to have in the interior rendering. Anything is possible.
4. Furniture. That is the most complex part as so many different details can go into one 3D visualization, but do not worry, we are here to help. So basically, you can put any furniture you want into your rendering and there are no limits. You can put some generic table from the IKEA catalog, or you can put some handmade piece of art from a furniture designer. The sky is the limit. But first, it is very important to decide what kind of interior style you want to follow? It can be modern, classic, Scandinavian (extremely popular), minimalistic, Japanese, or anything you want. Once you have a design idea, you can then start to collect the different furniture: a table, a rug, a sofa, a bed, etc. If you have a hard time doing that, you can choose specific pictures from Google search where you like the setup, the idea, and the style, and then the designer picks up different details and adapts them to your space. Moodboards help a lot as well.
5. Colors and materials. By colors and materials, we mean the floors, walls, ceilings, and any other specific space which will have a separate color or material. What is the best to have? It is exact pictures of the materials and exact codes of the colors (RGB or HEX). I always tell the clients a story of how we once had to do 5 different brown colors. It seems very simple, but black, red, or even white color can be understood differently. So specificity helps a lot.
6. Quantity of the 3D renderings. You can always make one render of any specific room or the whole apartment, or you can make multiple renderings of one space to present different perspectives and ideas. The simple rule of thumb is that most real estate developers do up to 4 renders of one apartment: bathroom, living room, kitchen, and bedroom. These are very important spaces to show in full detail. The same goes for restaurants, commercial spaces, offices, factories, and so on.
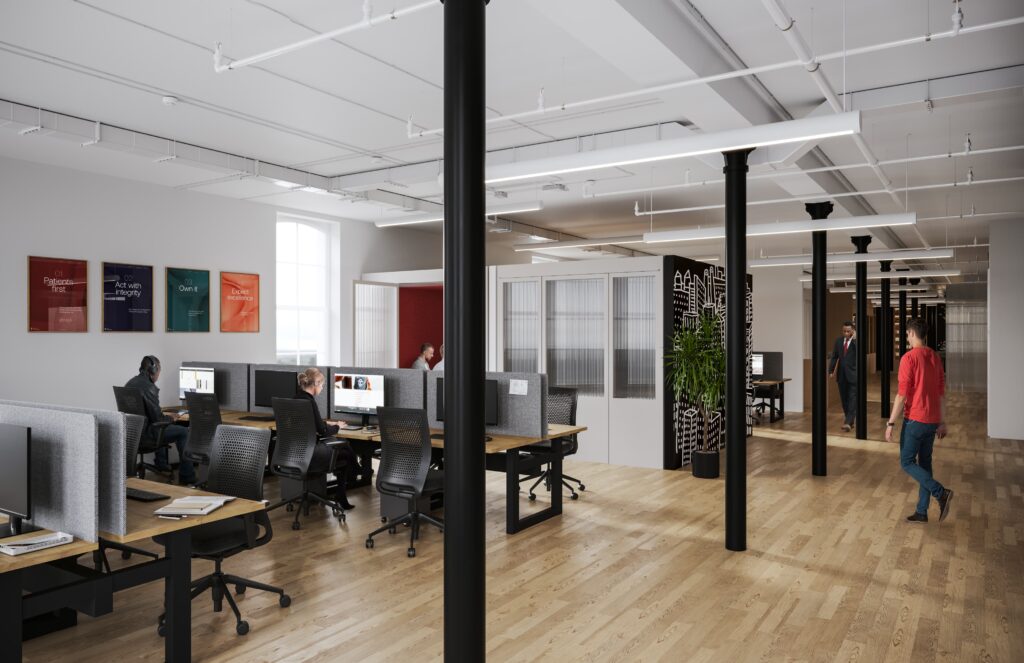
7. Additional details. 3D software can really free your imagination and you can add anything you want. Some clients like to have people in the space (please have a look at the rendering we have done for an office building in New York). You can add dogs, specific art, and stunning structures (fancy spiral stairs, stunning fireplace, etc.). This is what we love about the 3D world – you can do anything.
Once we collect all this information, we can start doing the perfect interior rendering for your new real estate development. We work till it is perfect for you, we do not stop halfway.
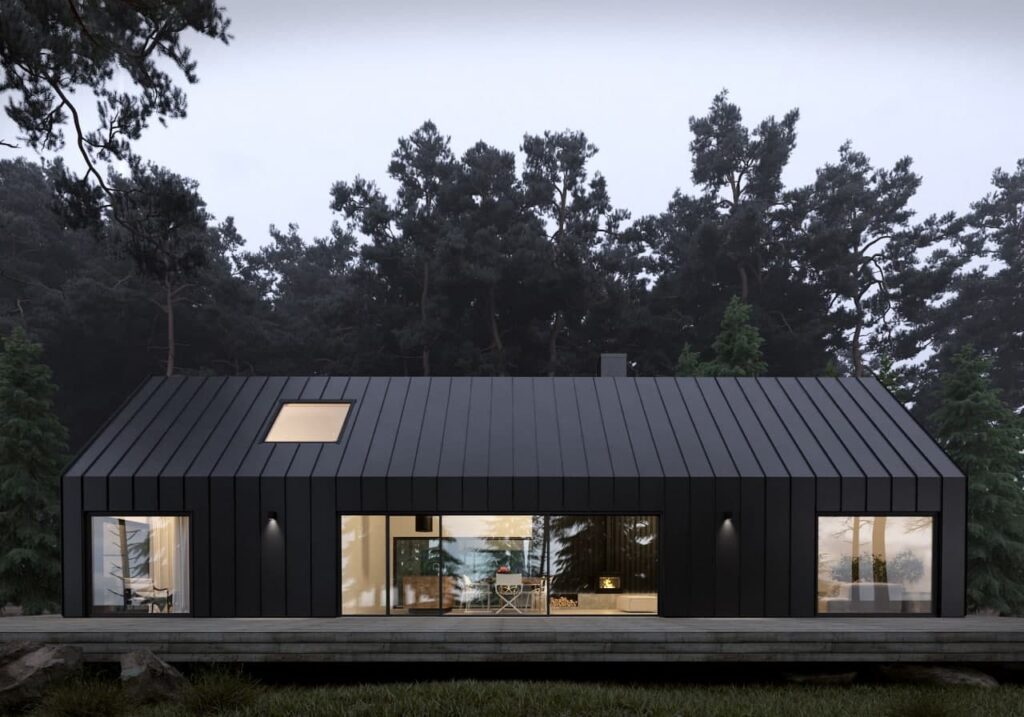
How to make a stunning exterior rendering?
The exterior project has some more additional details we have to consider.
- Drawings. Once you do the exterior rendering, we need not only the drawings of the new development, we need all possible to get drawings of the surroundings (it may be a parking lot, a bike deposit place, the streets, the plants, and so on. It is very important to know all these details, so we can recreate the existing place as realistically as possible. We must know where the street is, if maybe the new development is on a slope, does it have trees or bushes already, and so on. If no drawings are available: Google Street View or pictures of the lot can really help.
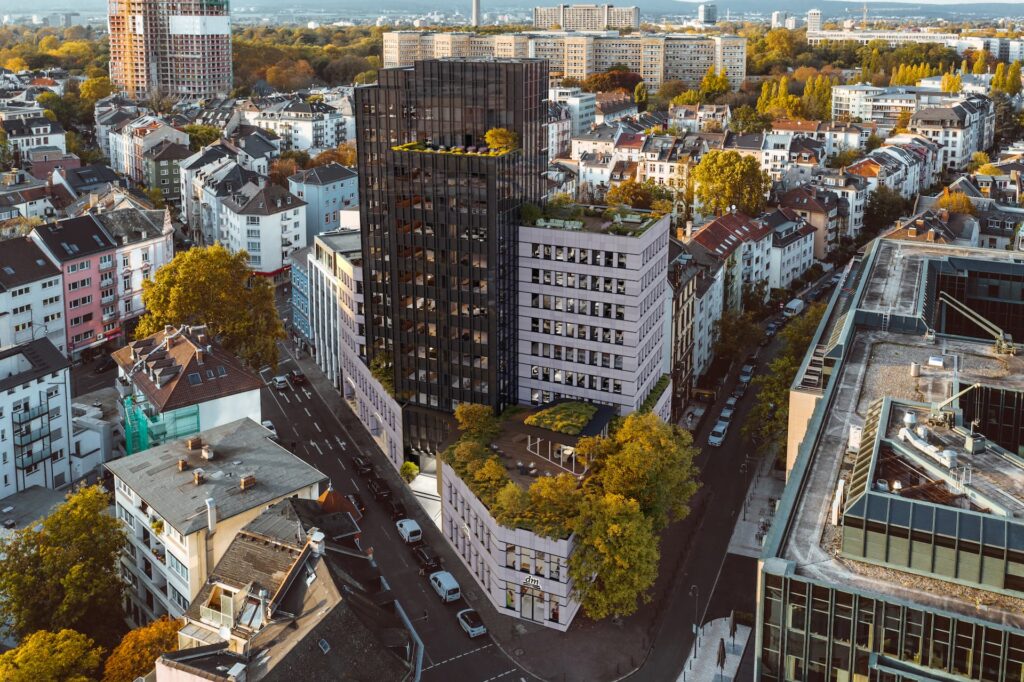
- Angles/perspectives. With exterior visualizations, you can play even more and find really interesting angles and ideas. You can show an angle from the top, from the ground view or maybe from a beautiful terrace? Maybe from the balcony or the playground? All these details can be very important selling points: if this new place is going to have a garden, why not emphasize it? Maybe it will have a very interesting playground, maybe it will have some old pine trees in the middle of the development, or it is going to be with a view to the sea? We must show it, so your clients will understand it.
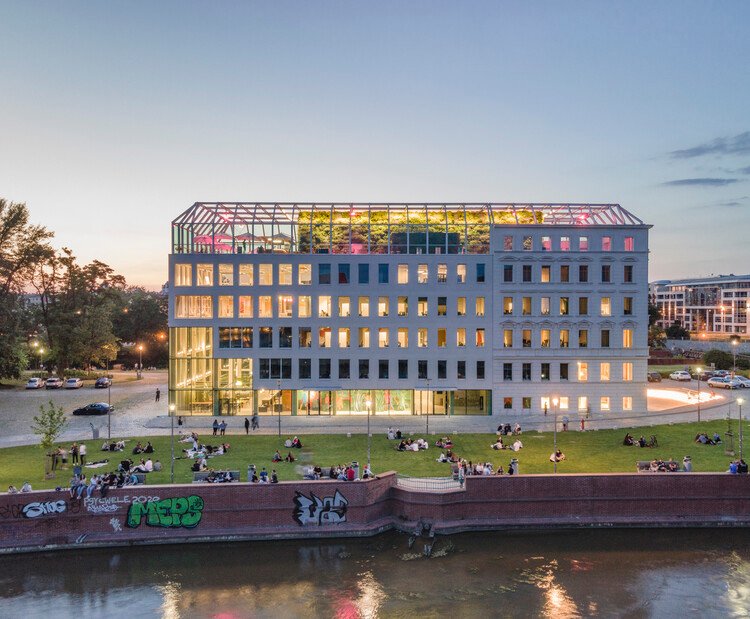
- Materials. Once we do exterior renderings, materials are even more important than in interior renderings. It is very important to know the exact materials of the facades, of the doors, windows, staircases, playgrounds, streets, roofs, and so on. All of these details will play a strong part in the final presentation, so having exact samples of each of them is very important.
- Quantity of the renderings. Most of the real estate developers choose 3-4 exterior renderings to show the whole development from the top, from the ground, and maybe some more details in the yard or view from the street. But with exterior renderings, you can get really creative and find some very unexpected perspectives to present.
- Lightning. Most of the developers choose noon lightning, but if you want to create a specific mood, you can choose morning light or golden hour. You can even choose the night, so all the windows are nicely lit and that creates a special cozy feeling.
- Time of the year. We all love sunny summertime, but to create the visuals more dramatic, with character – you can choose any time you want. You can make winter mood with snow on the roof and on the cars, you can make autumn mood and put wet leaves on the ground and make trees very colorful, or springtime and show the blooming flowers. Or you can even show the rain or fog to create a special atmosphere.
- Any additional details. Here as in interior renderings, your imagination can be free. If your development is close to nature or pasture: you can show some sheep eating the grass. If your development is for high-end clients, you can show fancy Ferraris or Teslas in the parking lot. You can show a family playing around with a dog or an old couple reading a newspaper. All is possible. The more interesting idea, the better presentation.
Once you collect and have all these ideas on paper, we can create any rendering you wish for. Moodboards, Google Search or Pinterest can be really helpful to find the correct idea for you.
Real estate rendering creation process
When we have all the information from you, we start creating the 3D model of your development in specific decided angles and perspectives.
Once we create these angles with some basic information (walls, some furniture, streets, buildings) – we send these angles for you to have a look and confirm. If the angle is not right, we can always change and adapt it.
After the angle is confirmed, we start adding all the furniture, colors and materials, so the visualization becomes full of life. We send that visualization for you to check if you like it and if any details should be changed: maybe you want a new sofa, maybe we should move a car to the left or delete that and that tree. Everything is possible.
And we continue this process until all the renderings are completely perfect for you and your team.
To sum it up, the process goes like that:
- We get all the drawings and all the mood boards, ideas, angles and other information from you. We help you in any process where you have challenges: we can help find the furniture, style, angles, and everything else.
- We make perspectives in 3D software and send them for you to confirm.
- We add all the details: materials, furniture, cars, trees, mountains and everything else and wait for your notes.
- We repeat step number 3 until you are finally happy.
- We send you high-resolution photo-realistic renders via Email.