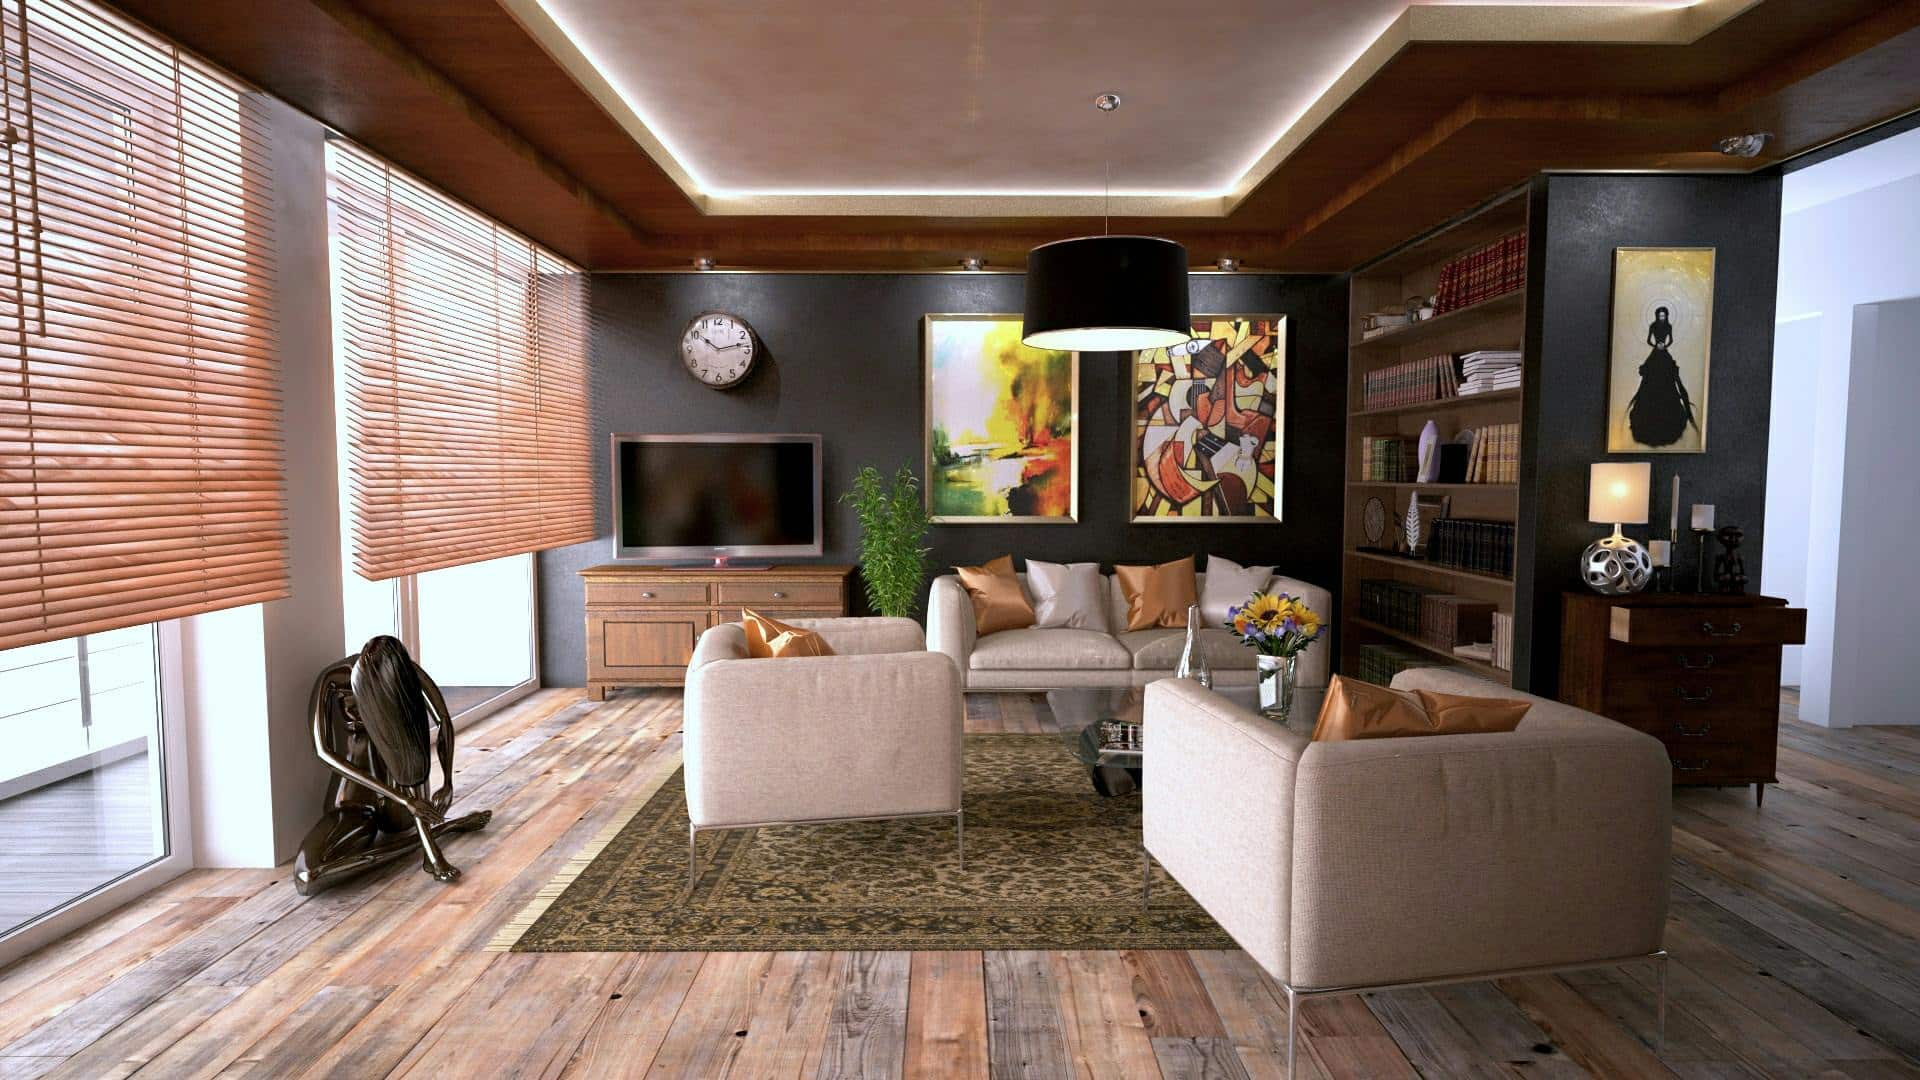
Creating photorealistic surroundings for 3D exterior renderings is a meticulous process that requires attention to detail, technical skills, and a deep understanding of how natural elements interact with architectural designs and photorealistic surroundings play a crucial role in the whole process.
At Archvisualizations 3D Studio, we’ve honed our expertise in delivering high-quality visualizations that bridge the gap between conceptual designs and real-life executions.
In this article, we want to share our top 10 tips to create photorealistic surroundings for your 3D exterior renderings, ensuring your projects not only impress but also convey a profound sense of realism.
1. Understand Your Environment

Before diving into the rendering process, it’s crucial to understand the environment surrounding your project. Consider the geographical location, the local flora and fauna, the lighting conditions at different times of the day, and the architectural context. This foundational knowledge will guide your choices in textures, lighting, and details, making your renderings more authentic.
It is very important to know if the surroundings are going to change (it is a completely new plot) or are going to stay as it is (maybe a new house construction in a dense city area).
To create as realistic surroundings as possible we use Google Earth Images, Google Street View or high-resolution photographs of the existing surroundings. This way we can recreate the surroundings as they are in real life.
2. Use High-Quality Textures
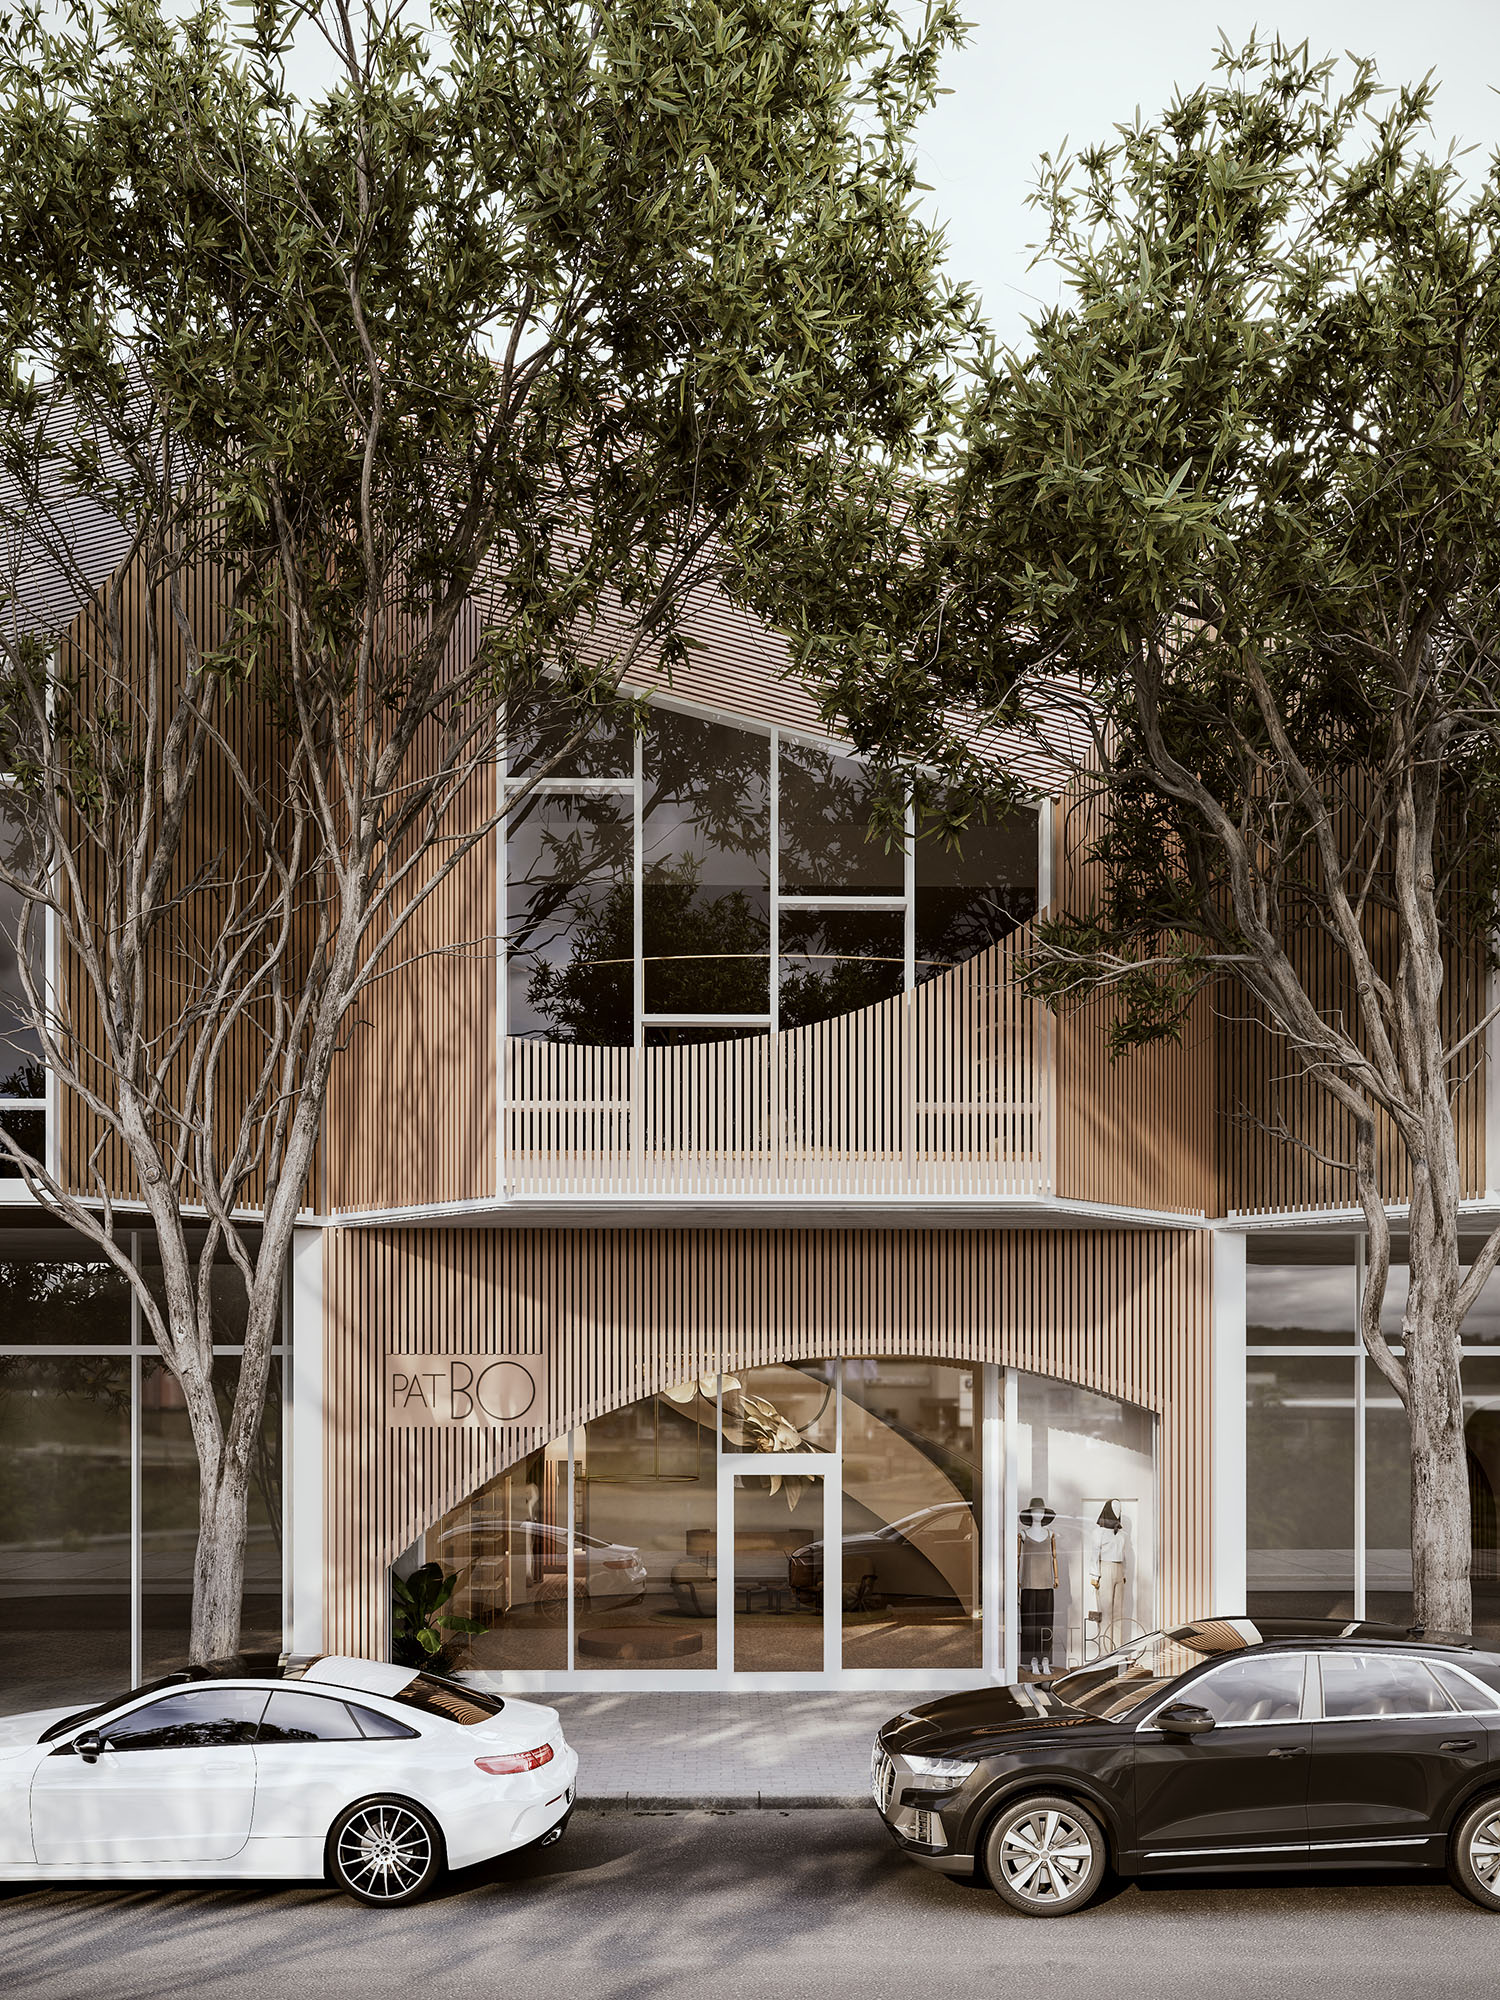
The realism of any 3D rendering heavily relies on the textures used. For exterior renderings, choose high-resolution textures that accurately reflect the materials in your design, such as brick, stone, glass, and wood. Ensure that these textures have appropriate bump maps or displacement maps to add depth and realism to the surfaces.
If possible, get all the textures from the material supplier (brick supplier, wood supplier, etc.) for maximum realism. Most of suppliers at least have high-resolution images of their products, so you can put the material as it is straight in your rendering.
3. Incorporate Detailed Vegetation
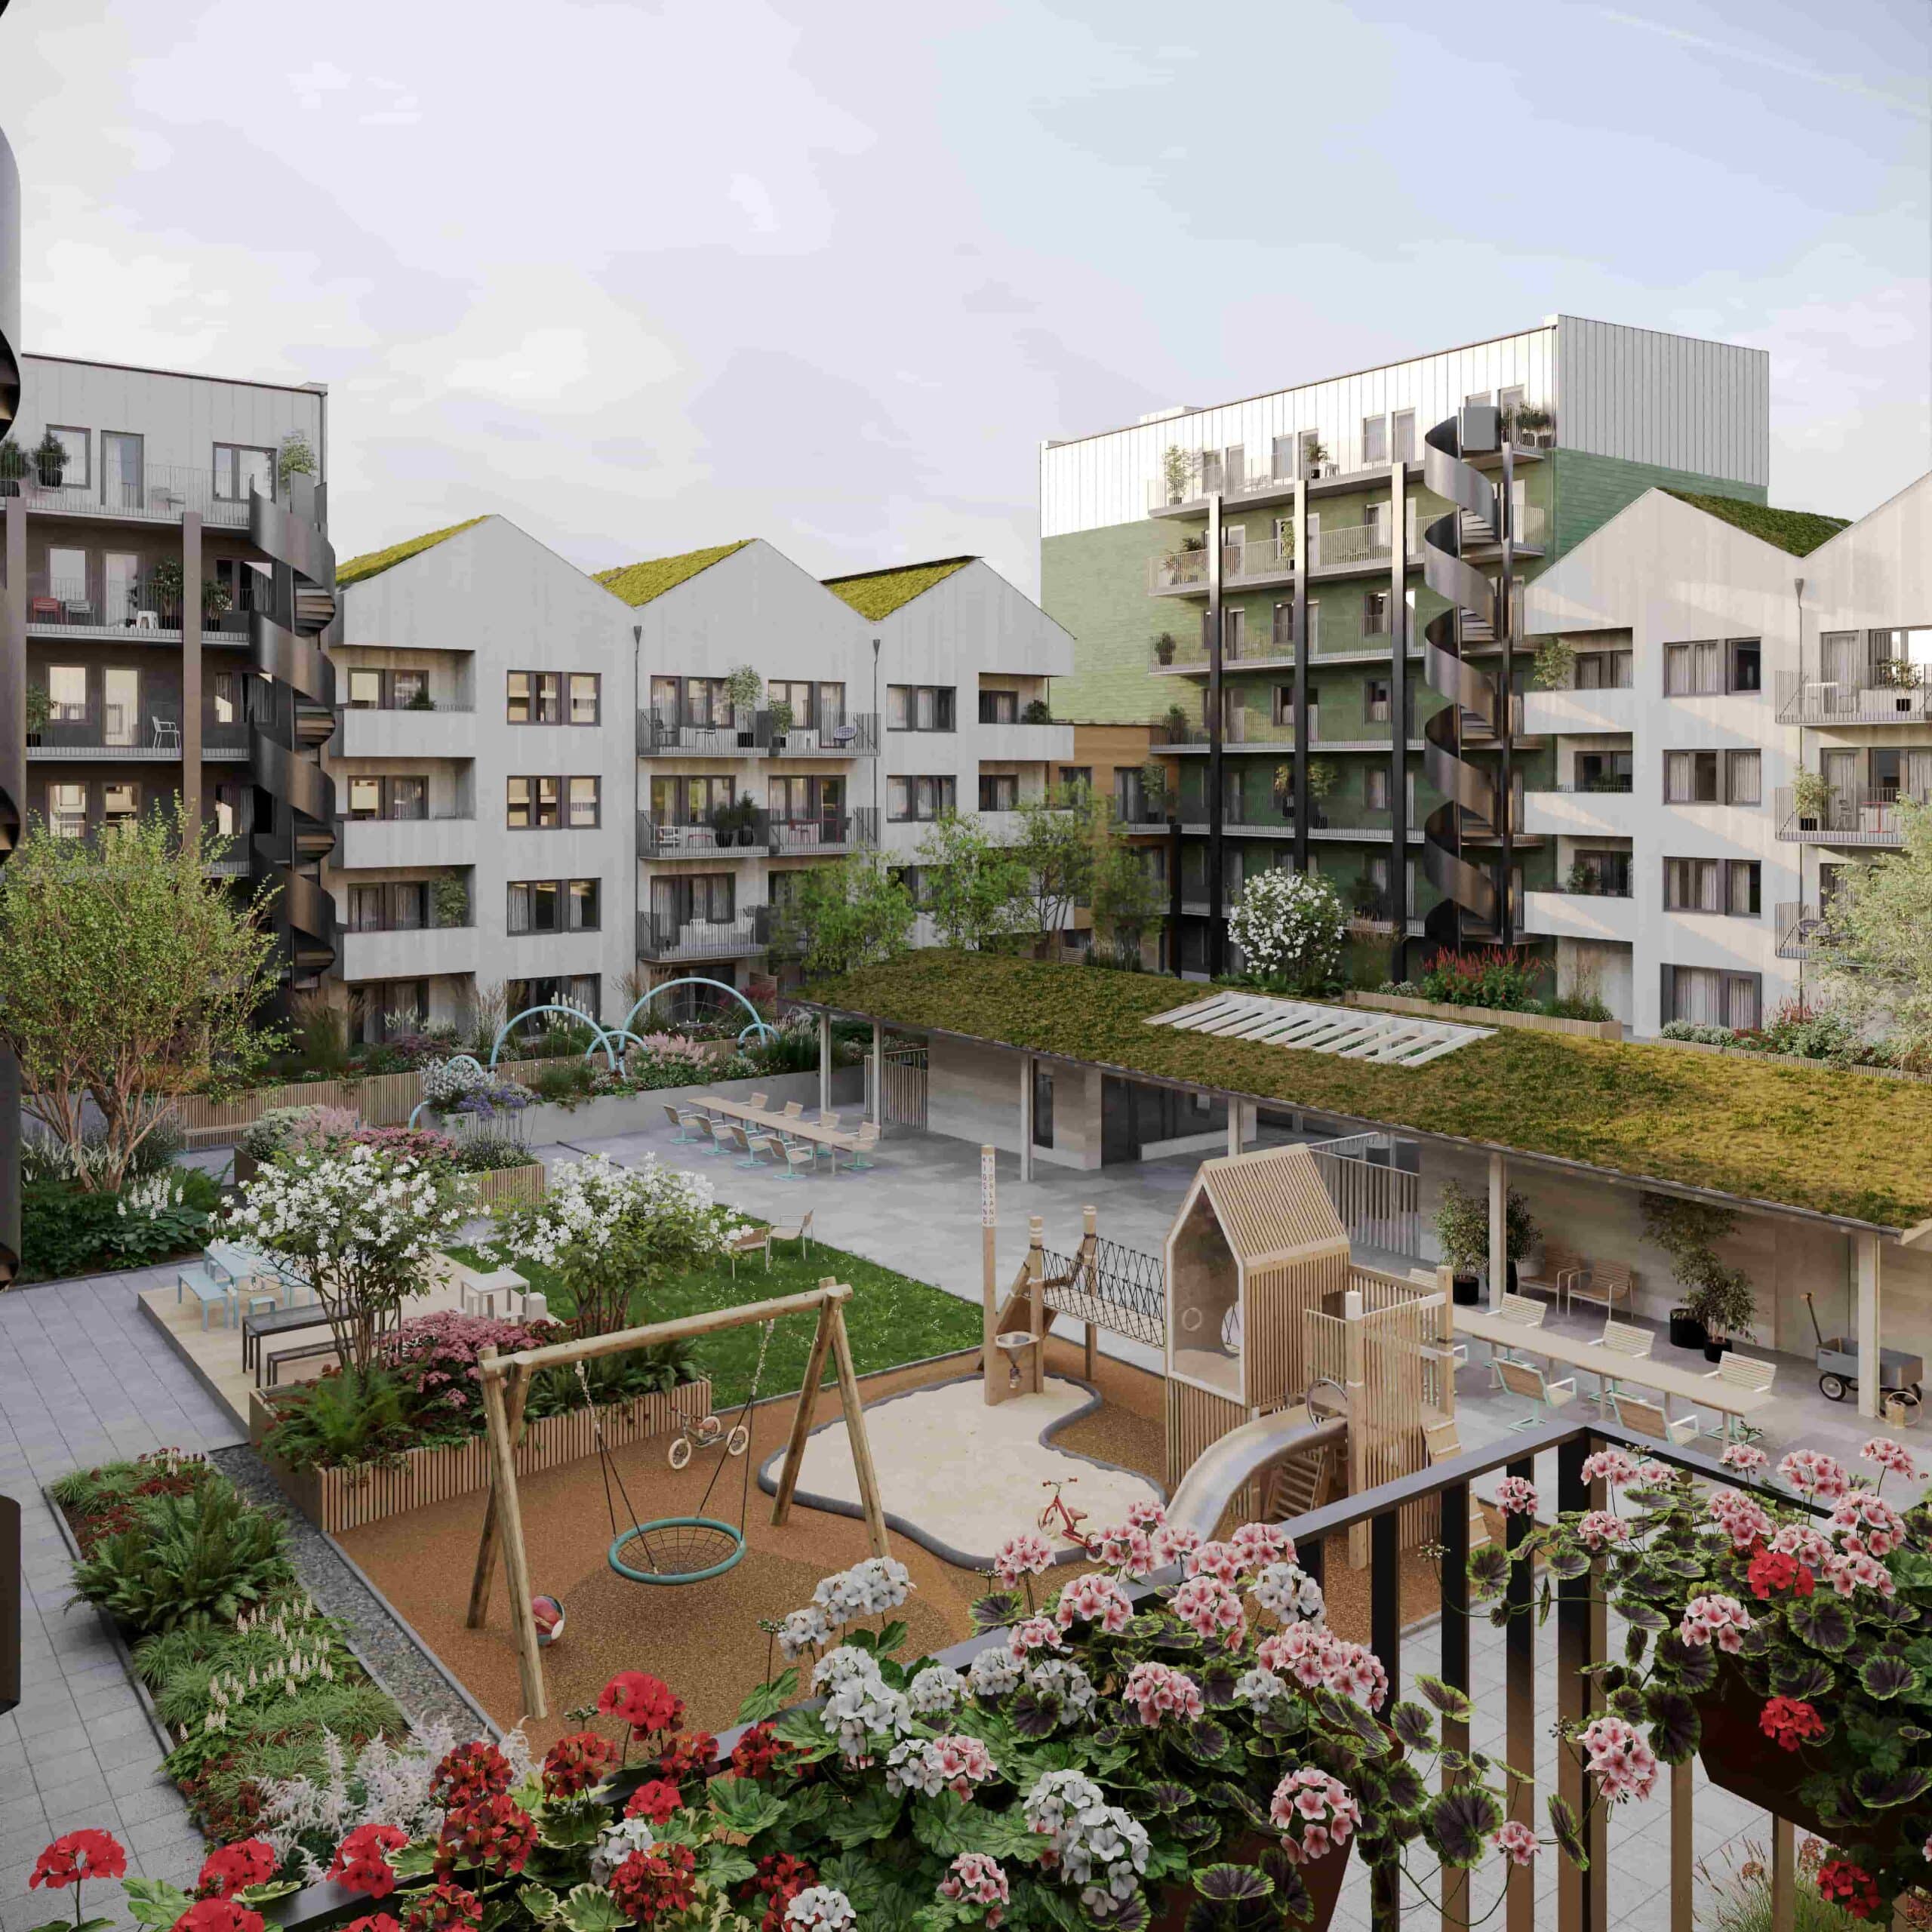
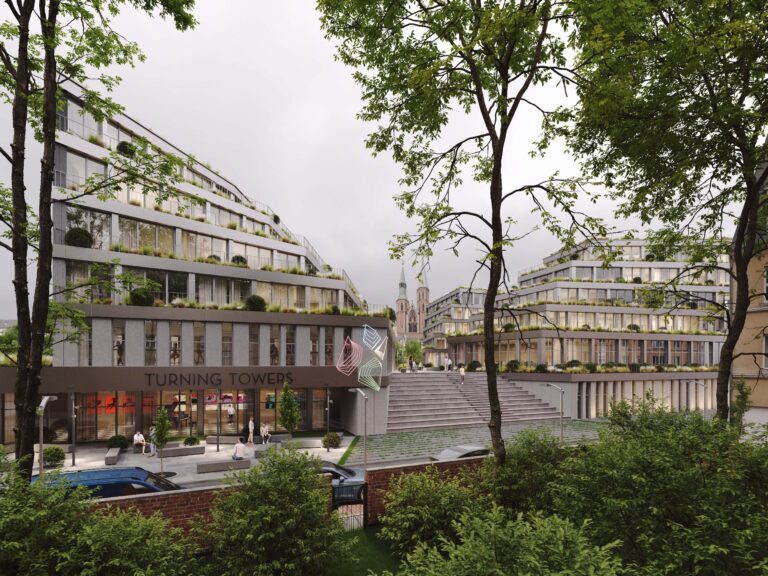
Vegetation is a critical component in creating photorealistic surroundings. Use a variety of plant models that are true to the project’s location. Pay attention to the size, density, and distribution of these plants. Adding layers of vegetation, from ground covers to towering trees, can add depth and vitality to your scenes. Biophilic design is getting more and more popular, so vegetation and other details are getting more and more important to create welcoming spaces.
Our tip: do not create vegetation that is not going to exist in the project. We have had some experiences with some clients where we have put some gardens and other vegetation which was not built in real life and the buyers of the estate were quite disappointed. It is important to show realism in your renderings, but do not use structures or ideas that are not real.
4. Master Lighting Techniques
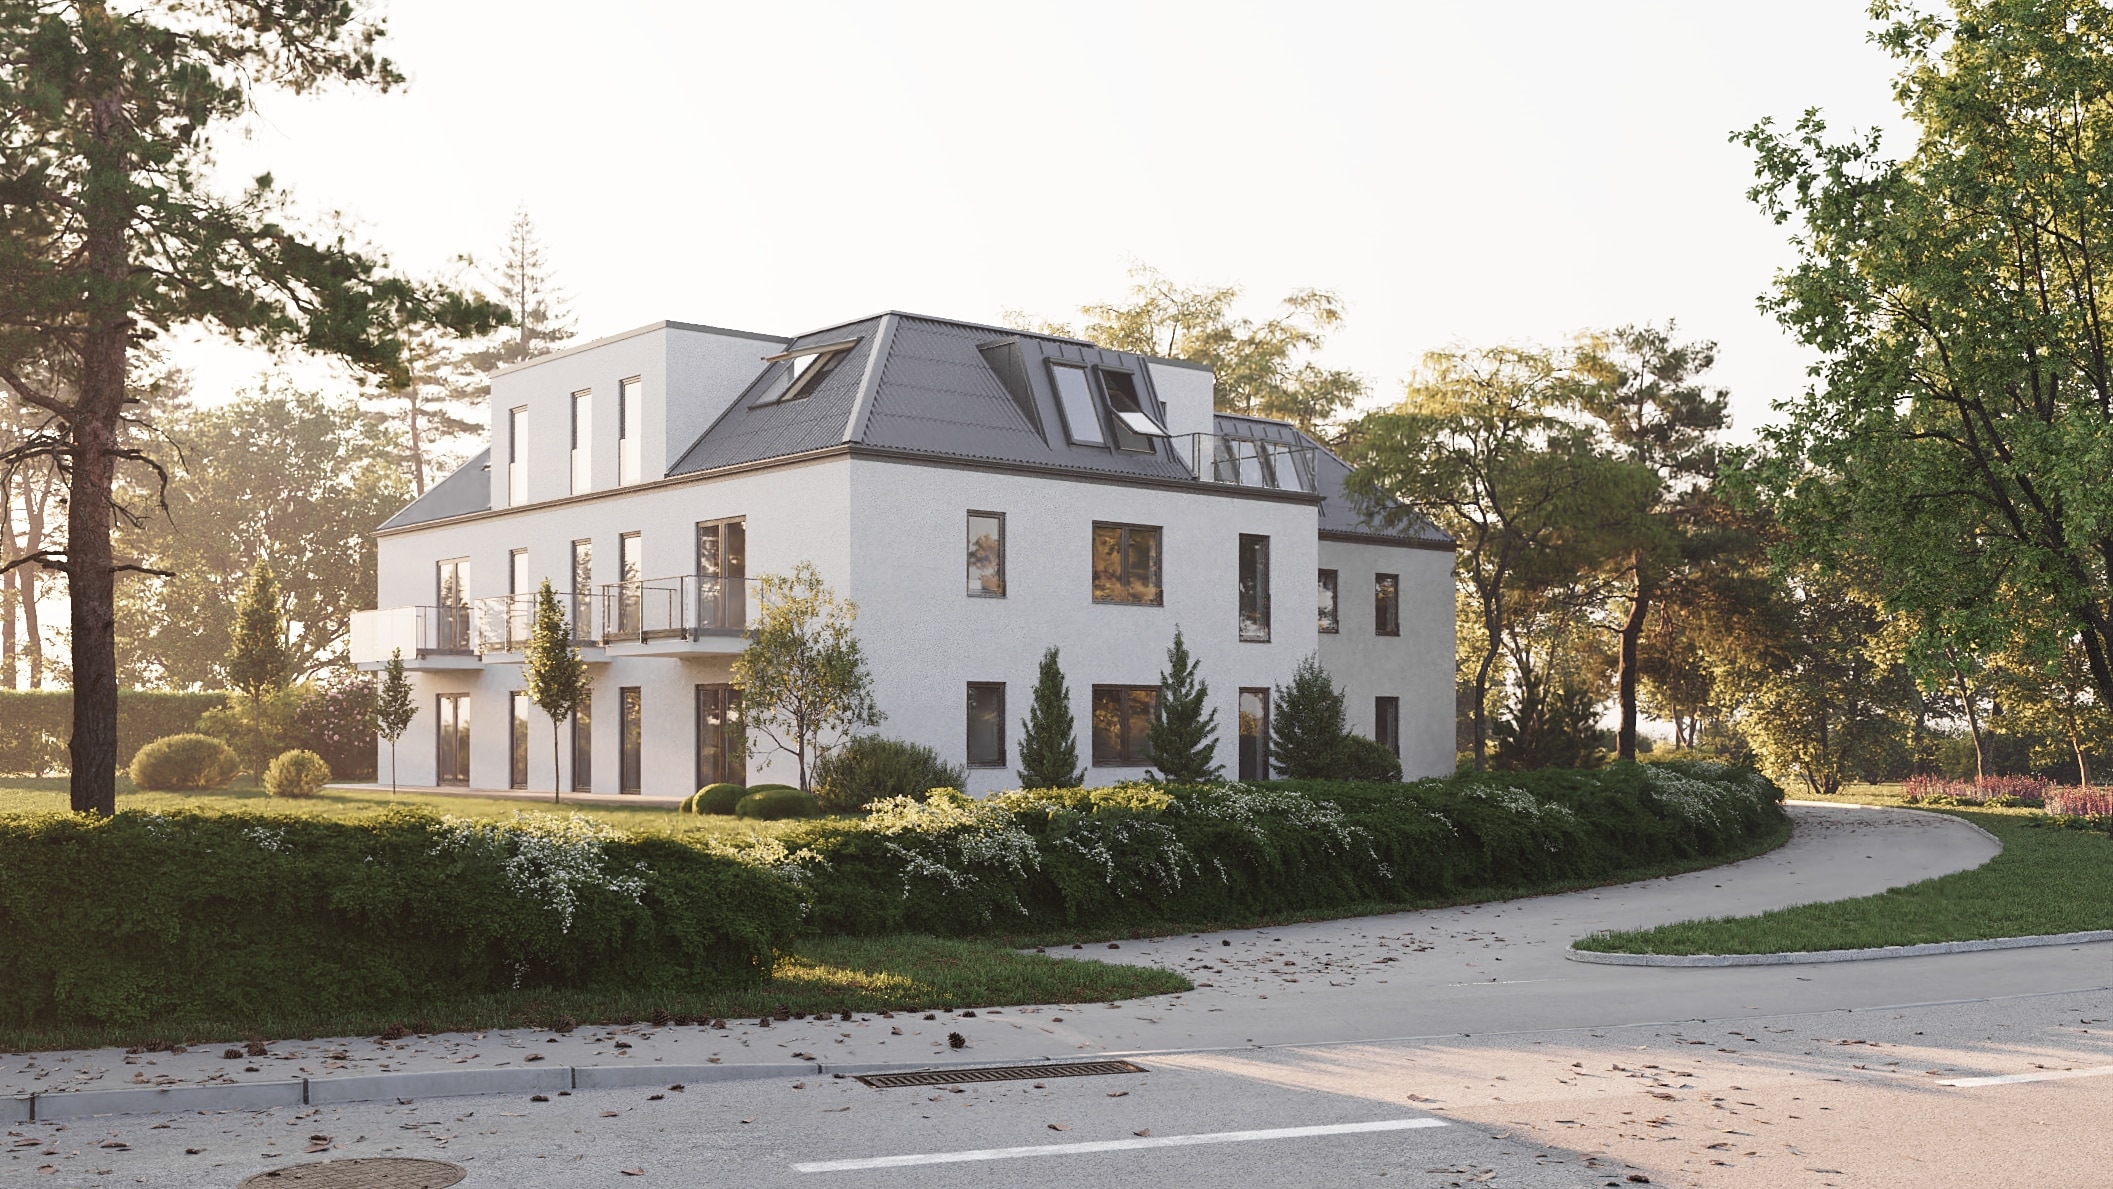
Lighting can make or break a 3D rendering. To achieve photorealism, you must master both natural and artificial lighting techniques. Study how light behaves at different times of the day and in various weather conditions. Use global illumination and accurate shadows to enhance the depth and realism of your renderings.
5. Incorporate Realistic Sky and Atmospheric Effects
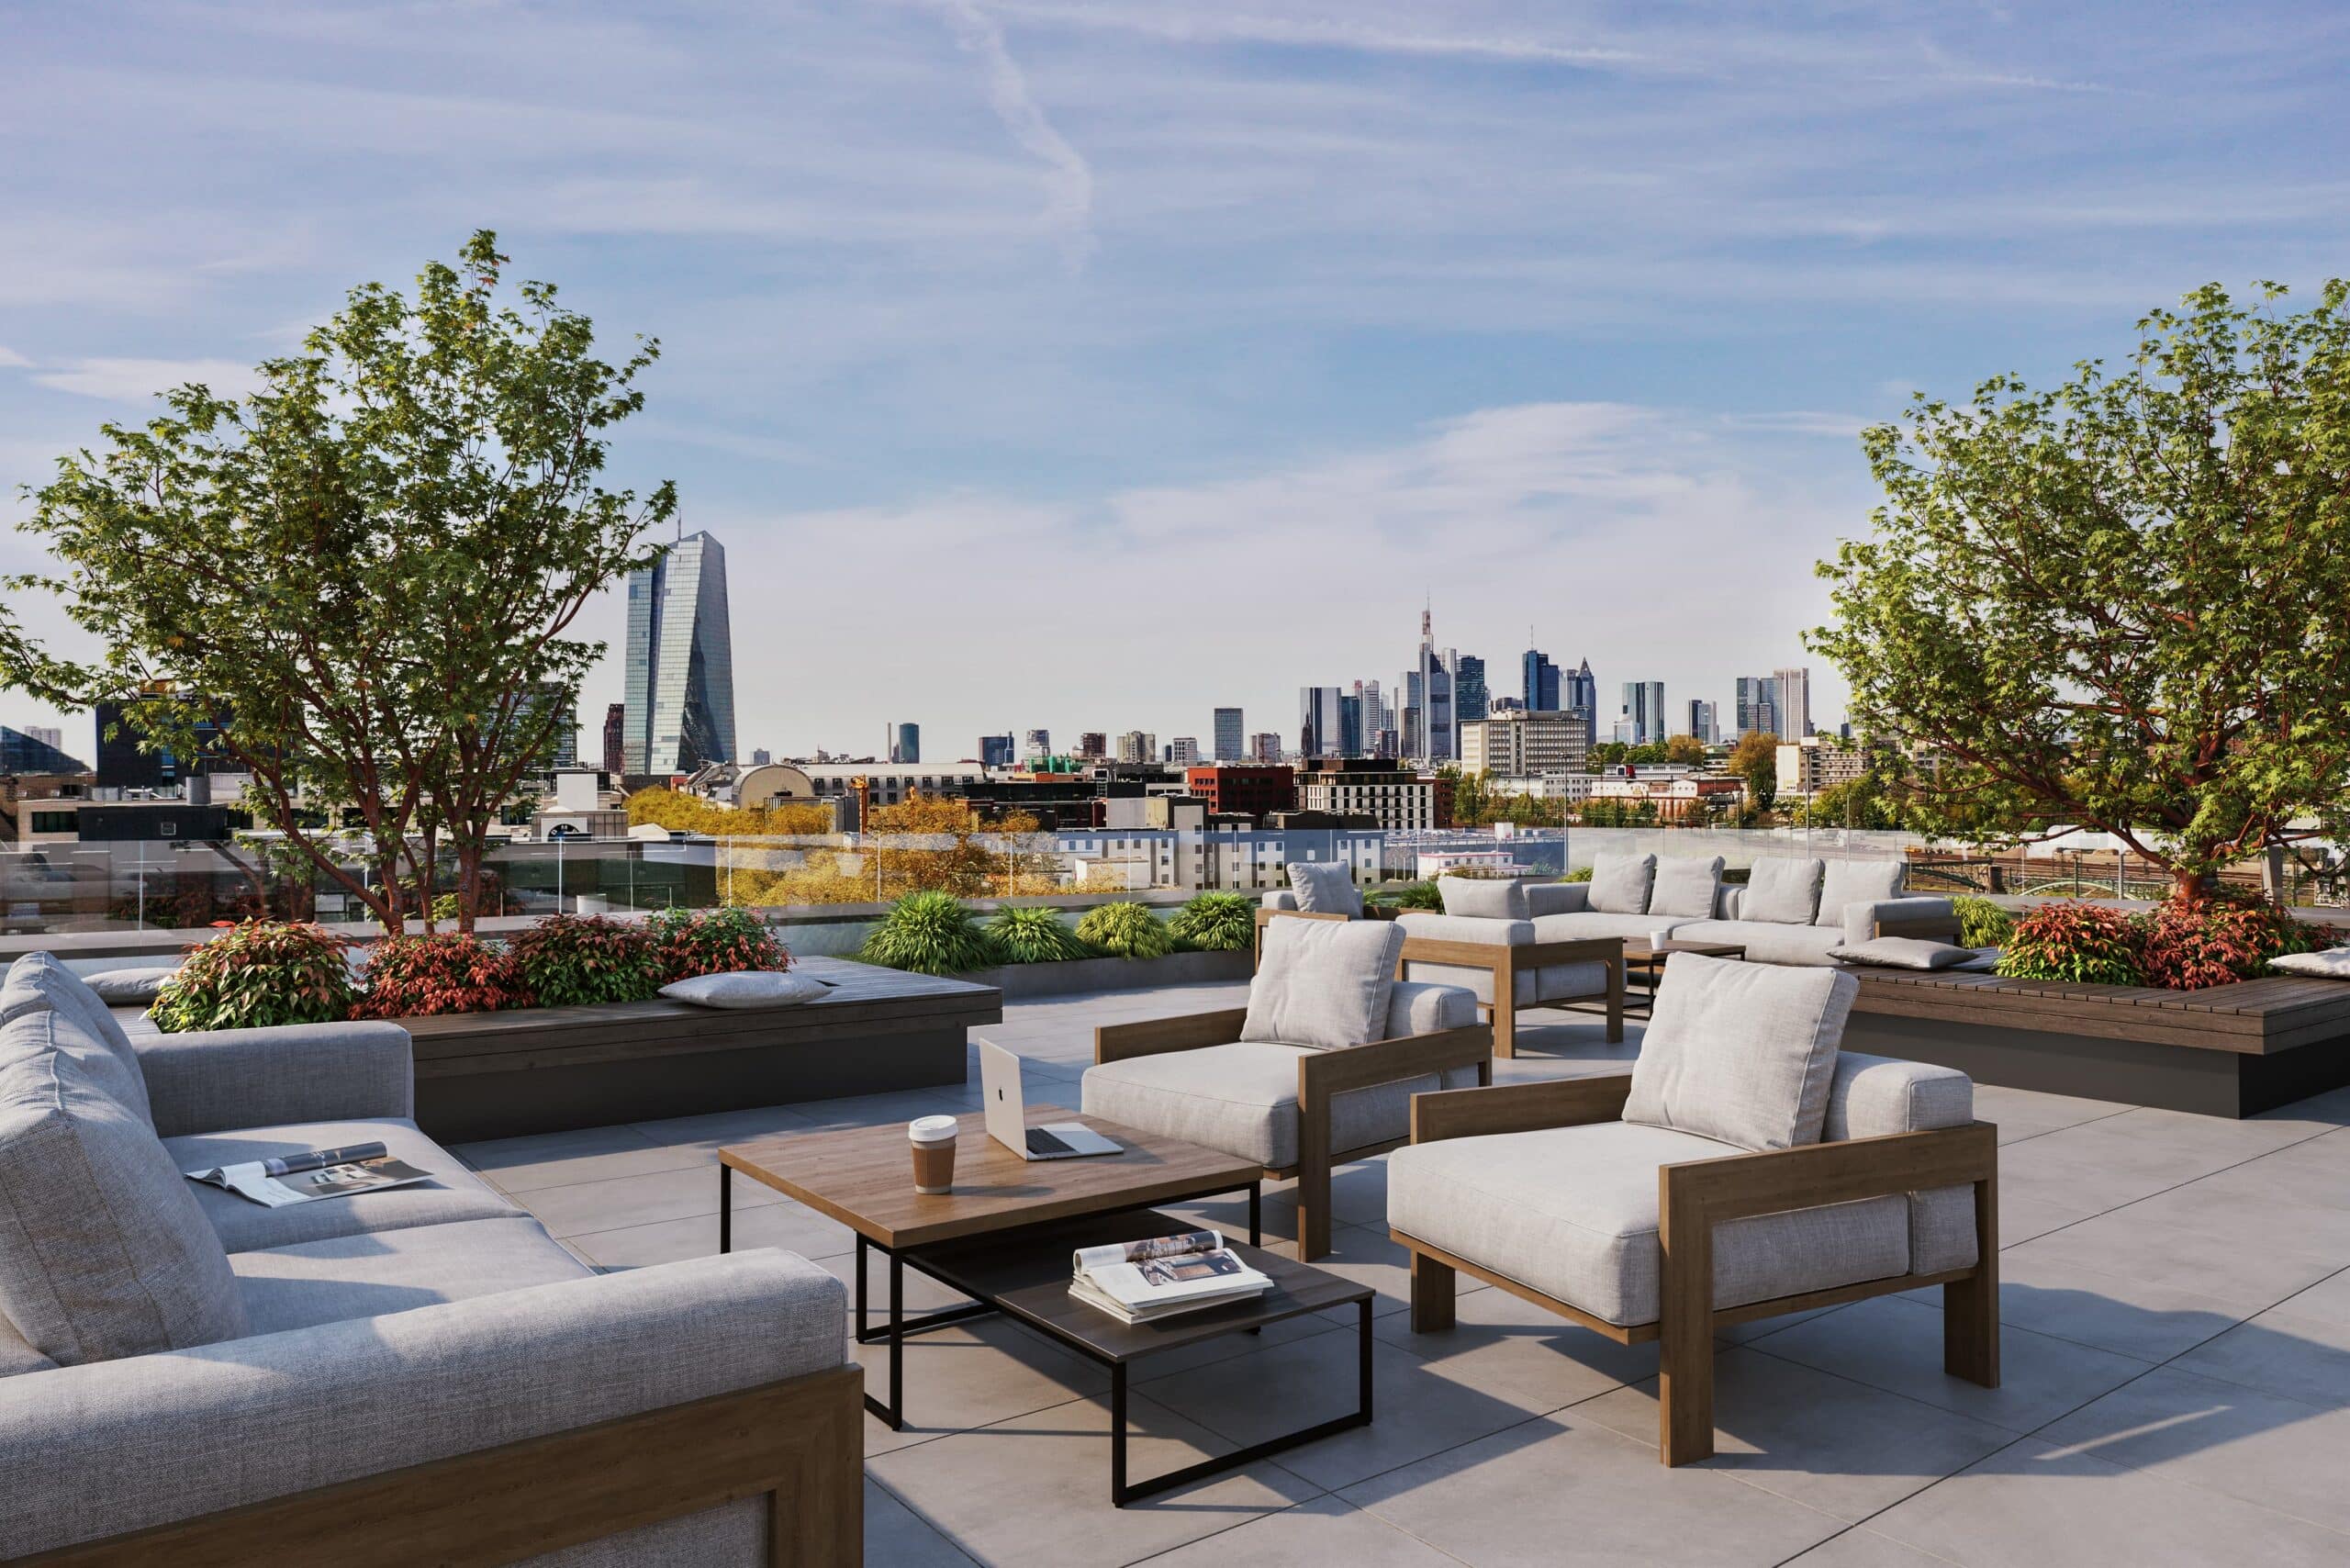
The sky and atmosphere play significant roles in setting the mood of your rendering. Use dynamic sky models that reflect the specific time of day and weather conditions of your scene. Incorporate realistic atmospheric effects like fog, mist, or haze to add depth and a sense of scale to your renderings.
The sky should be alive, if you want to avoid dramatic skies (gloomy, misty) or too alive (with birds or planes) add some neutral clouds and the sky will become much more relatable to everyday life for your clients.
6. Add Human Elements and Everyday Objects
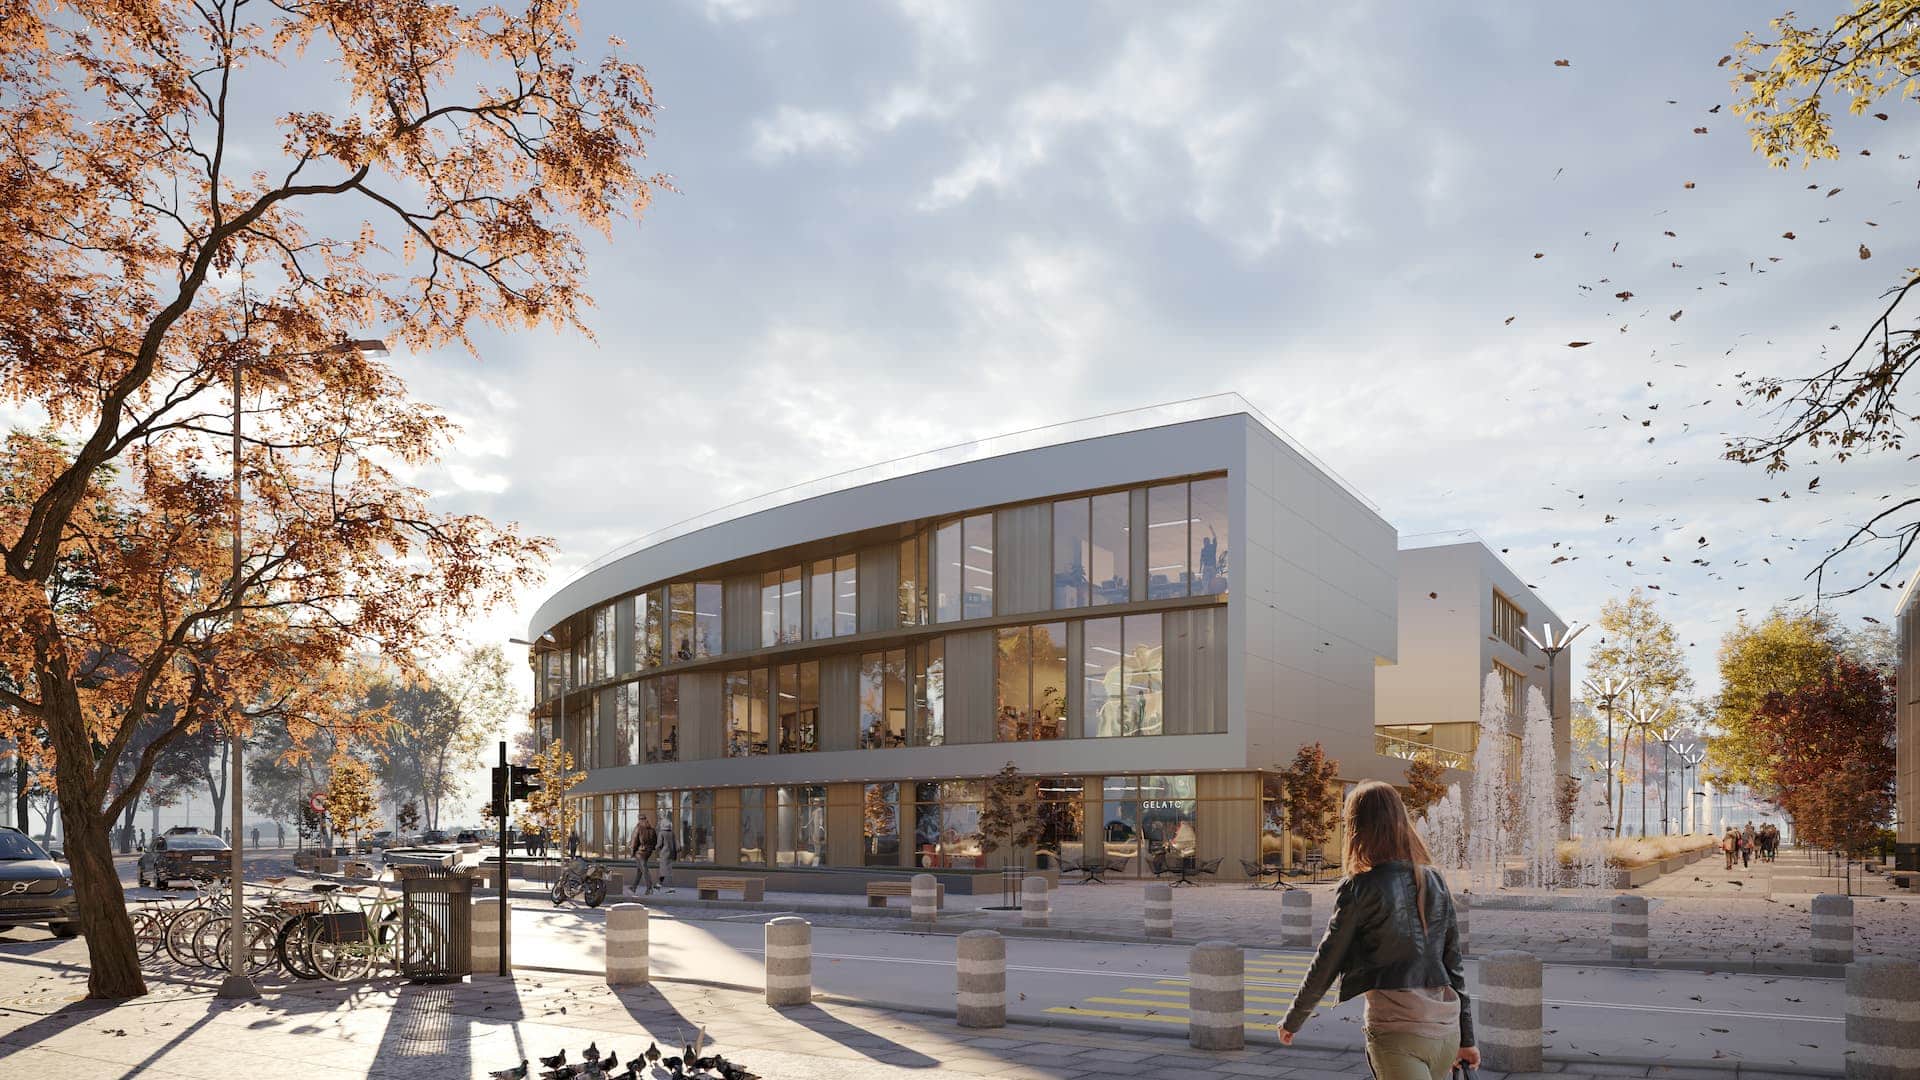
To give your exterior renderings a lived-in feel, incorporate human elements and everyday objects. These can include people, vehicles, street furniture, and even pets. These elements should be placed thoughtfully to complement the composition and scale of your rendering.
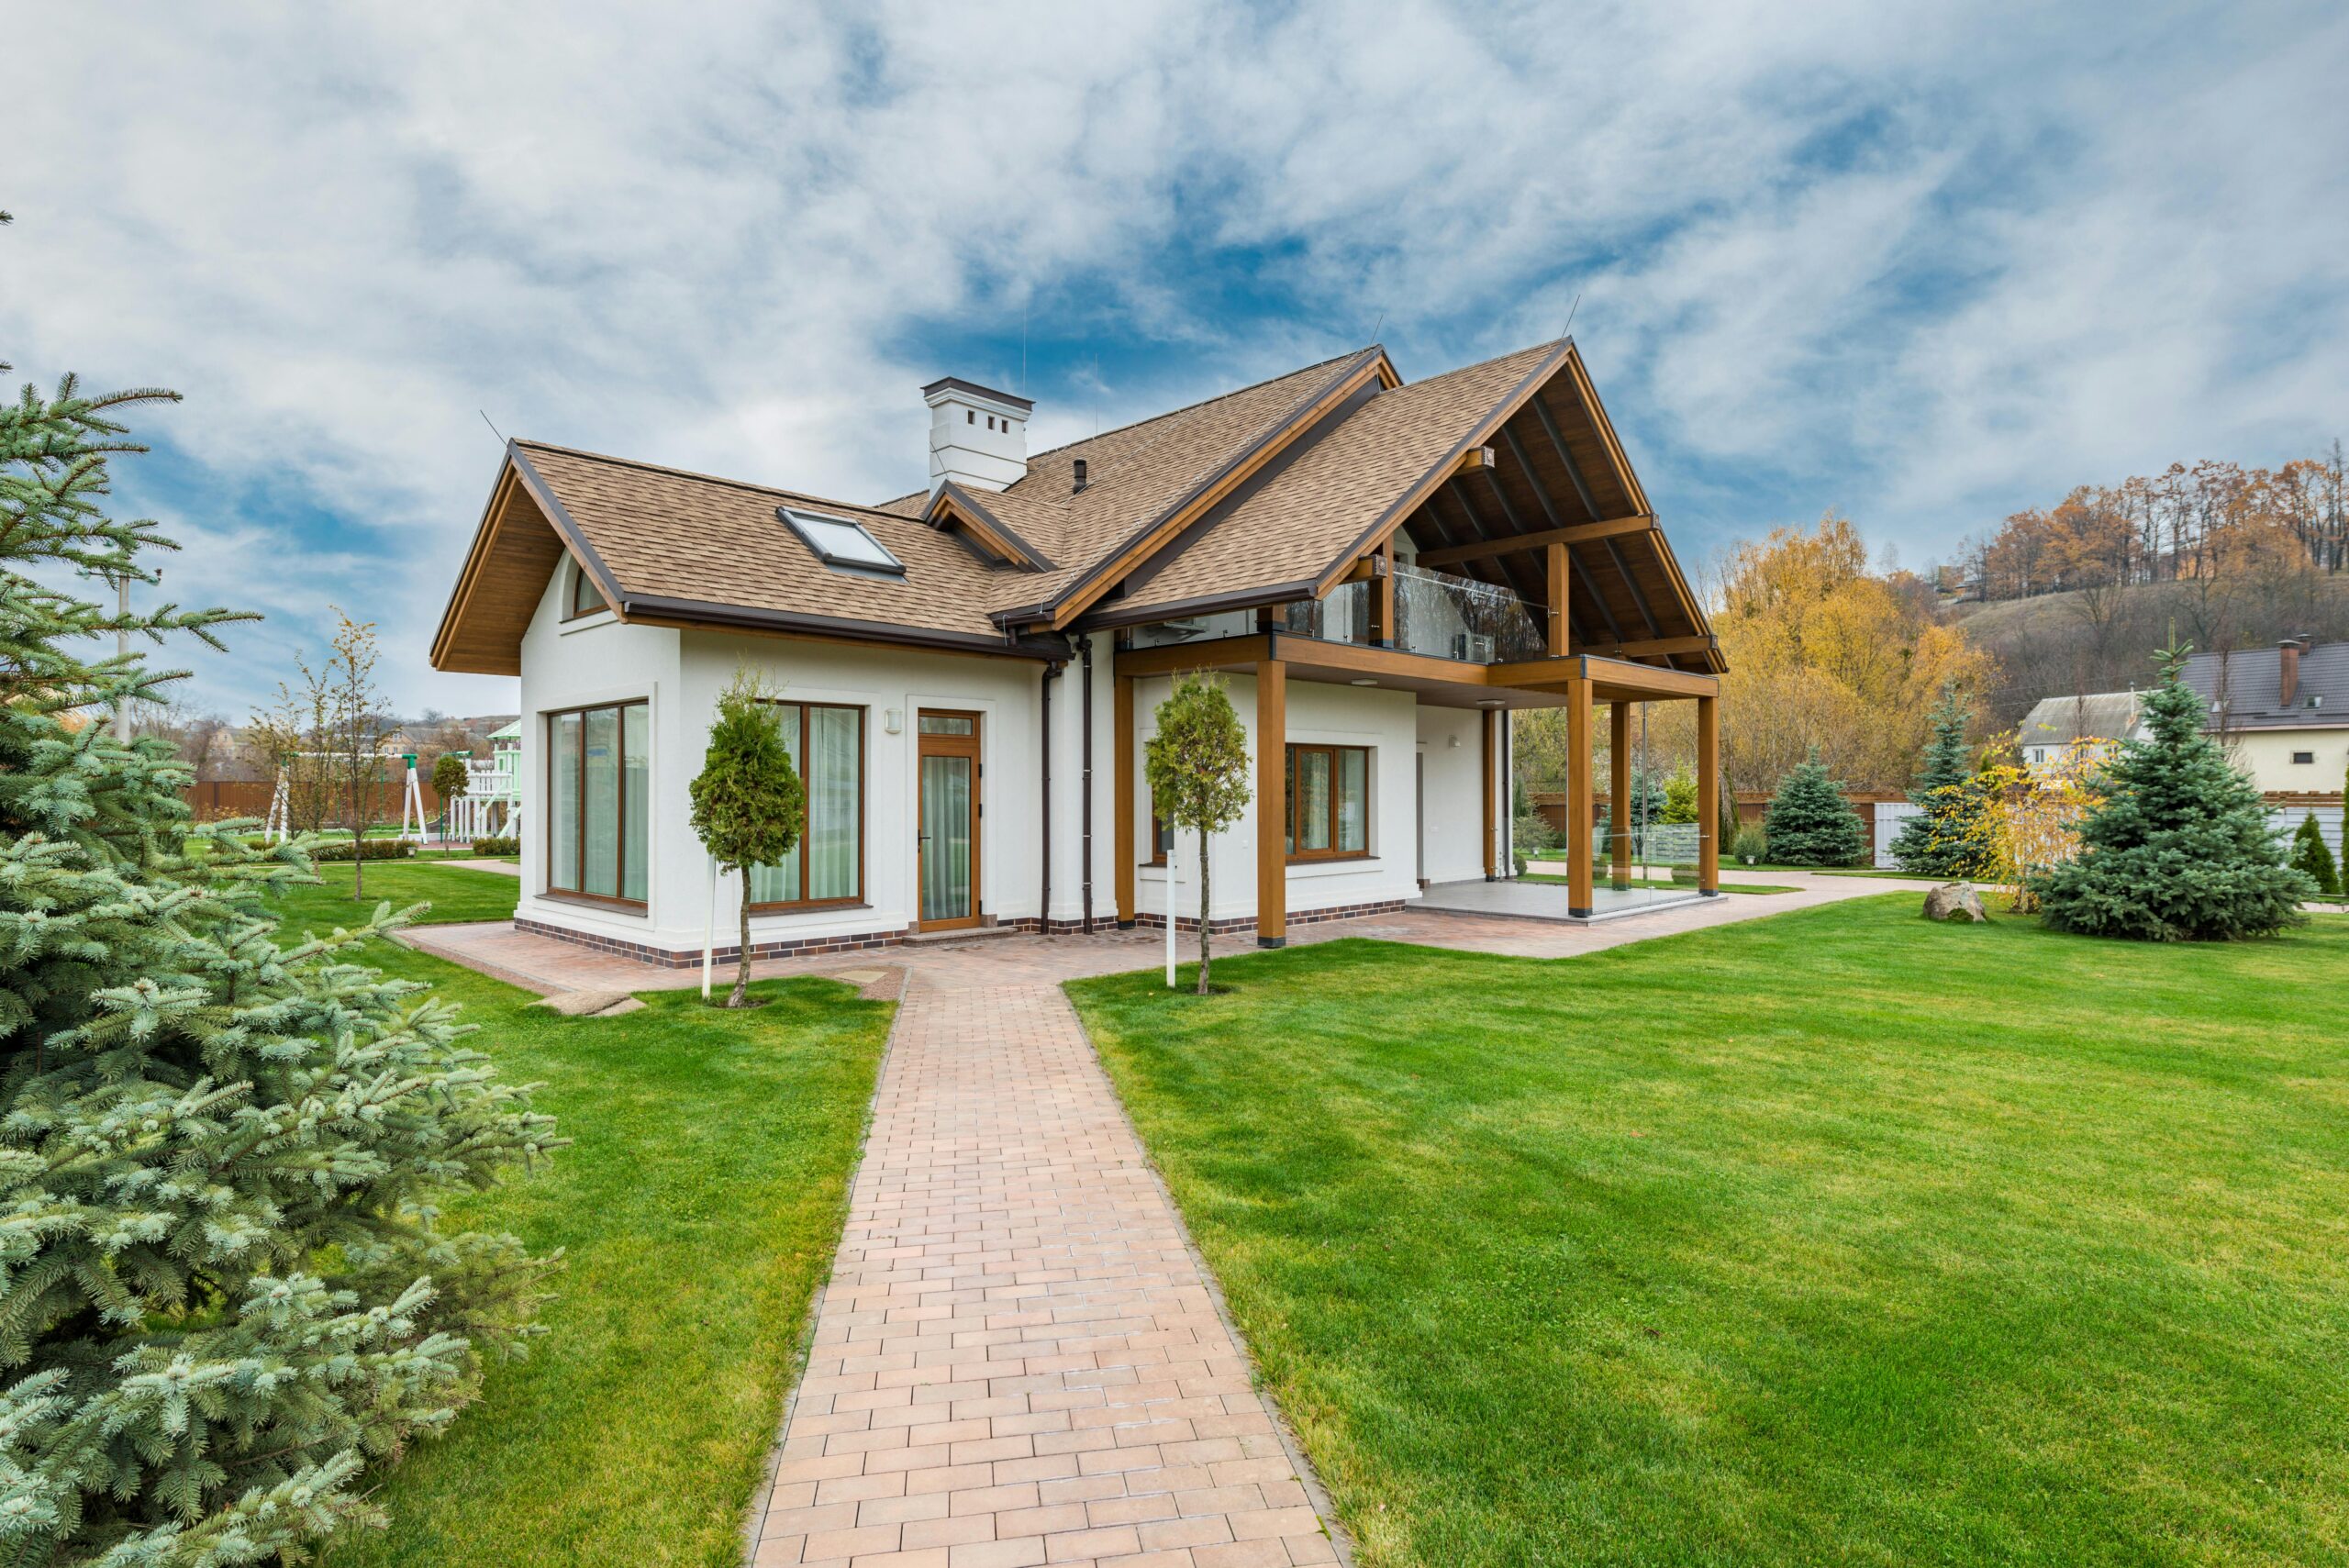
Please attention to your target clients: if it is a commercial building – you can add people with suits and fancy cars, if it is a residential property: add families, dogs, family cars, and so on. It is very important that people do not feel disassociated (business people should not be sitting on a bench next to residential property).
7. Focus on Scale and Proportion
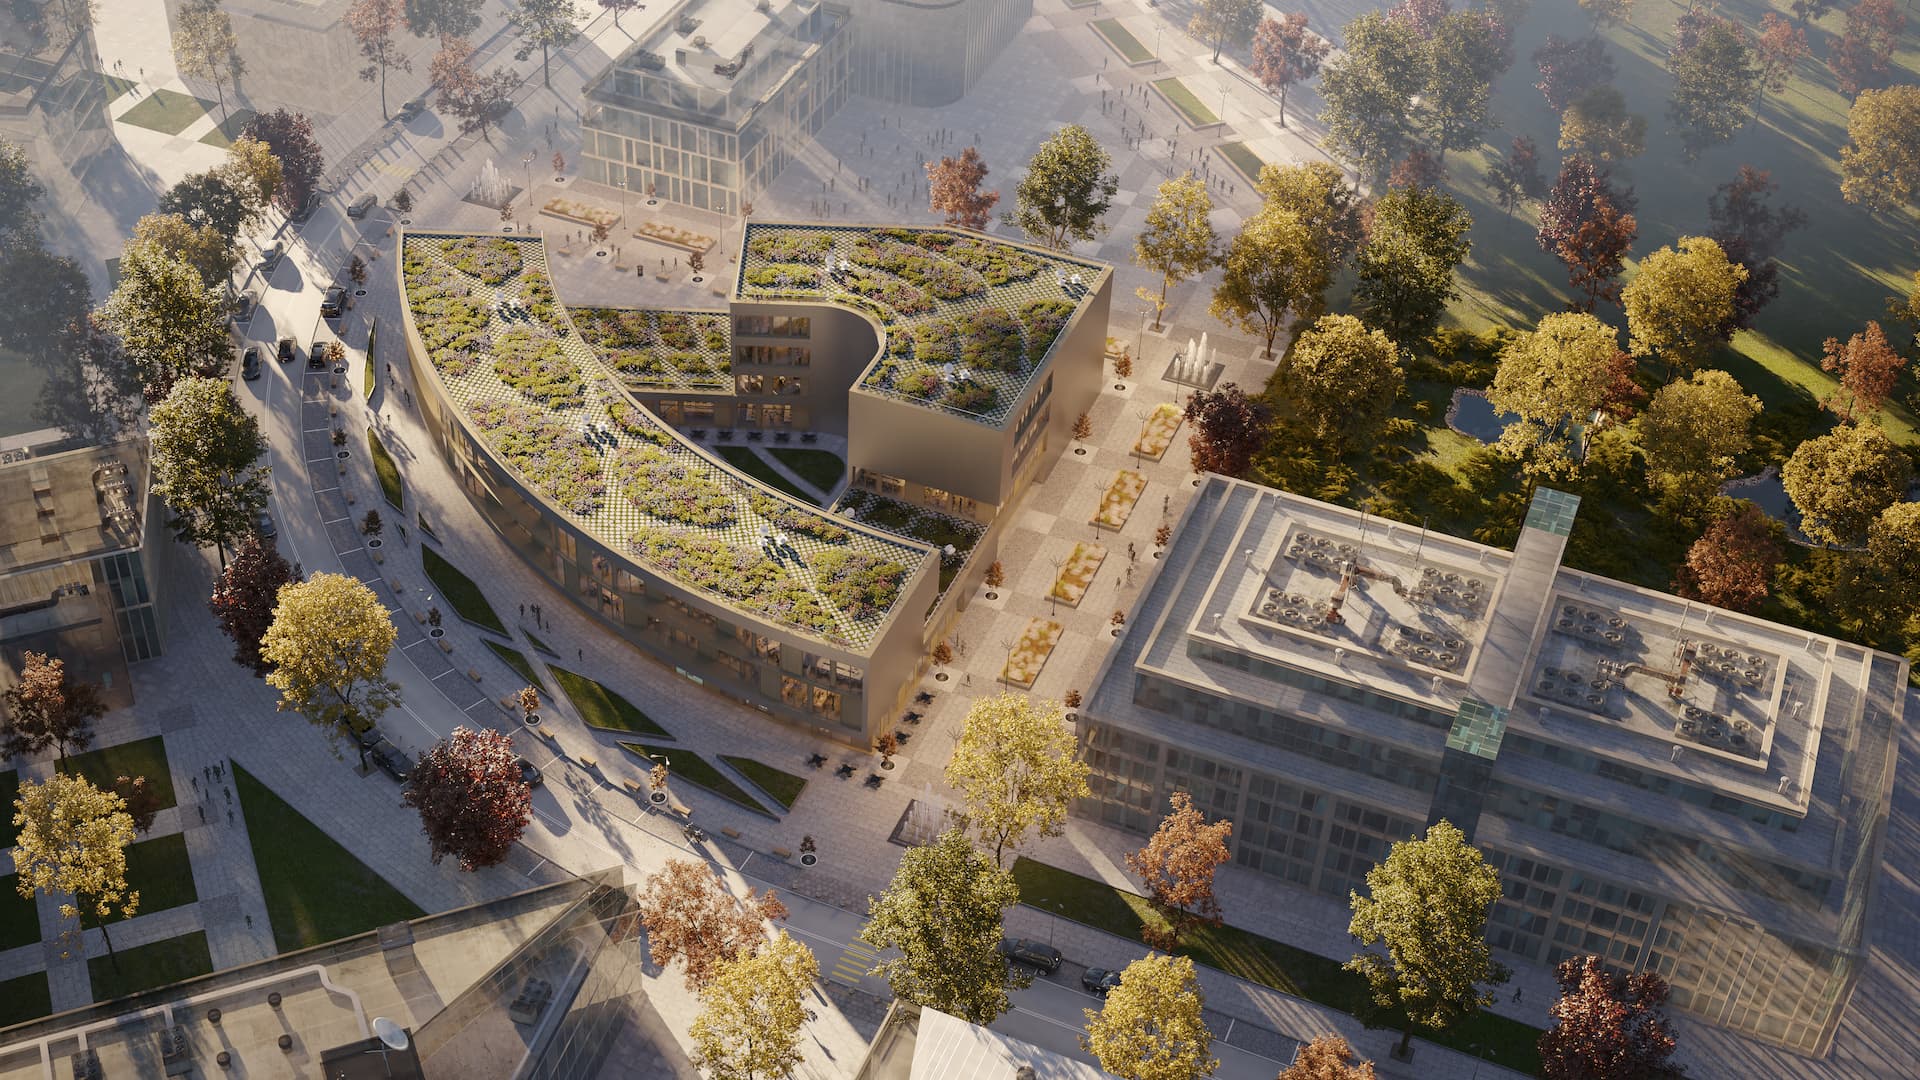
Accuracy in scale and proportion is essential for photorealism. Ensure that all elements within your rendering, from the architecture to the surrounding landscape and objects, are in correct proportion to each other. This attention to detail will make your scenes more believable.
8. Use Real-World References
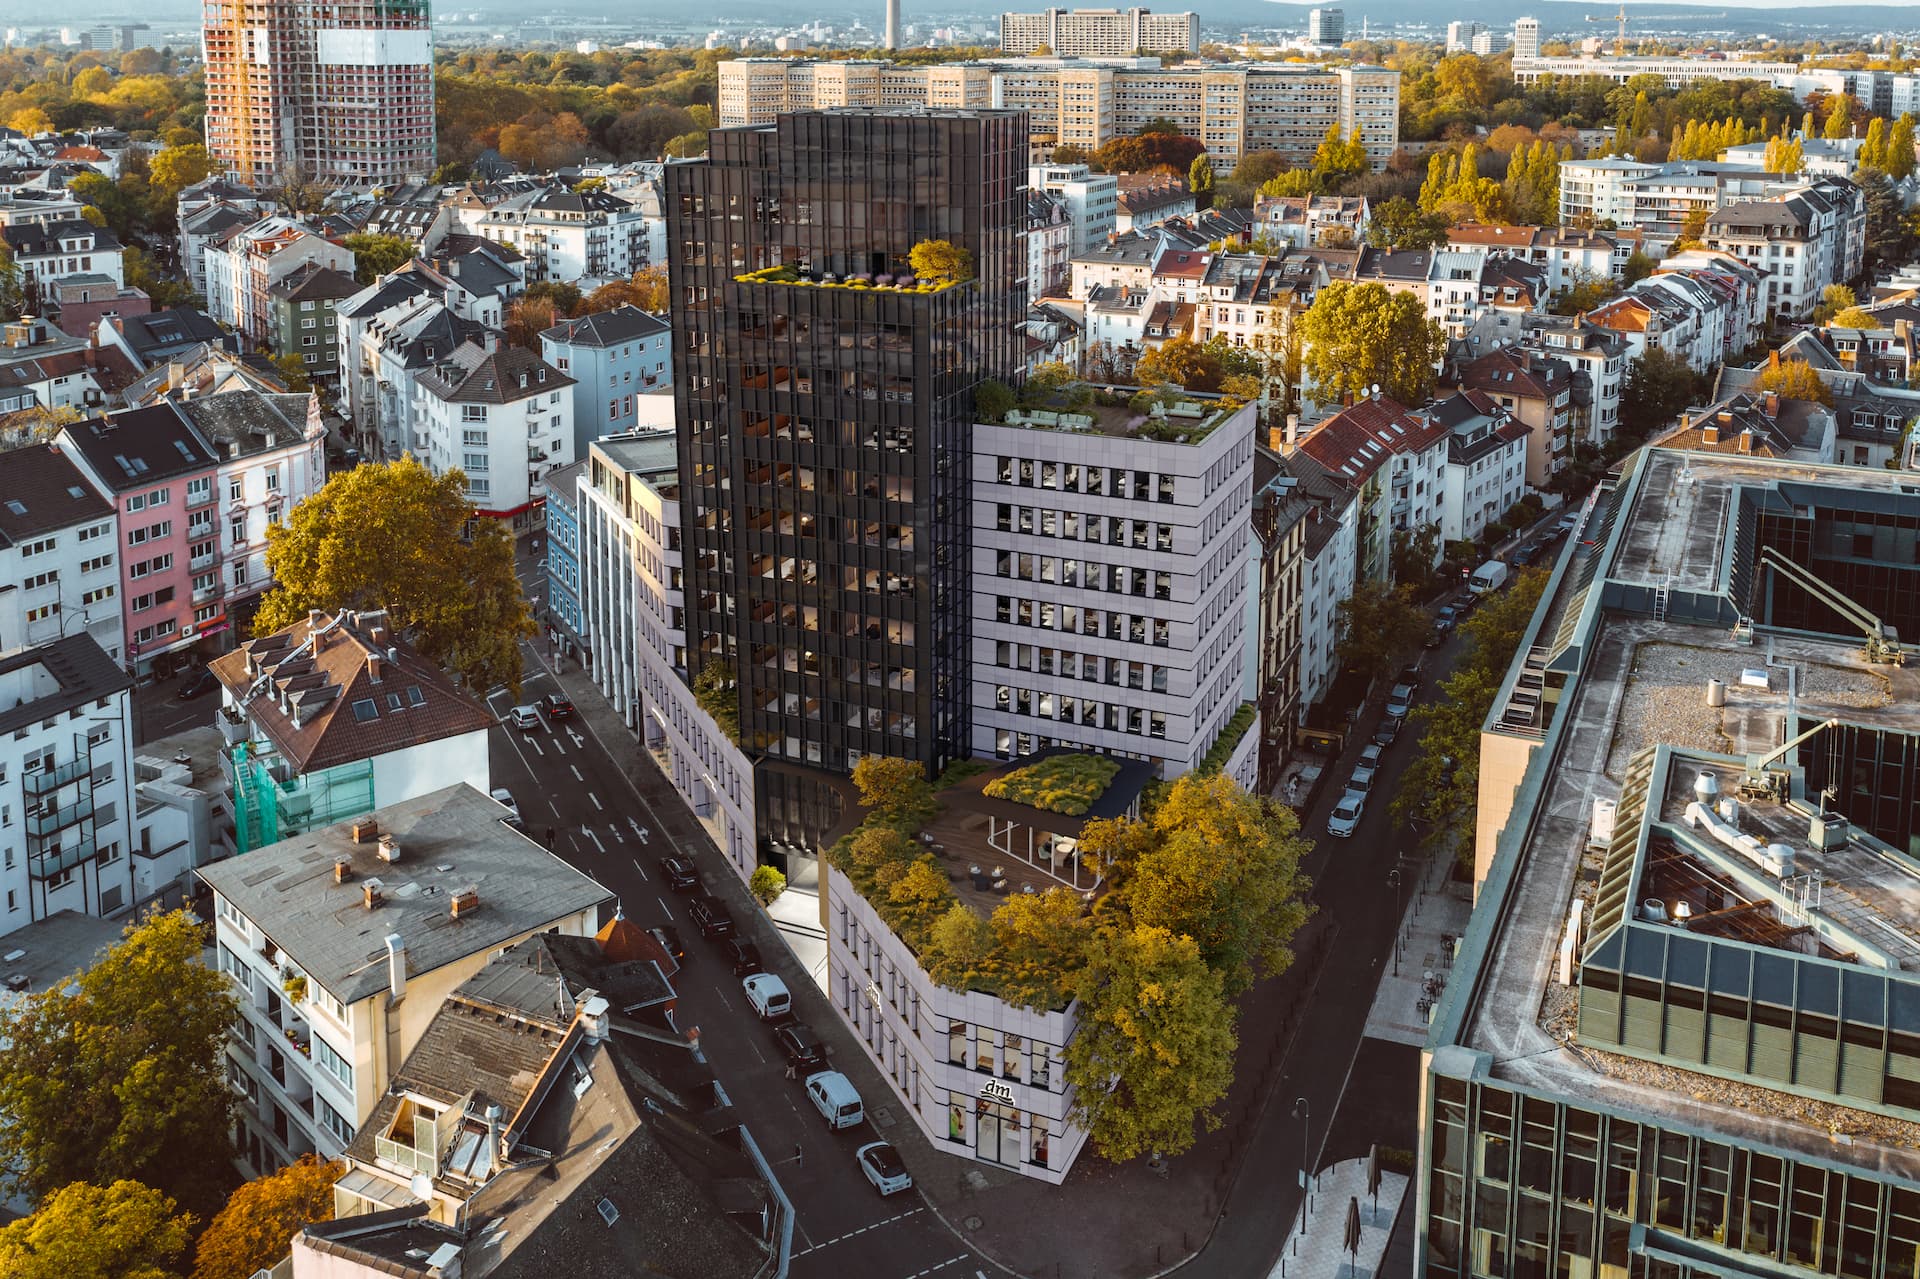
Always use real-world references when creating your renderings. Photographs, videos, and even site visits can provide invaluable insights into how elements interact in a space. These references can help you capture the essence of the environment you’re trying to recreate.
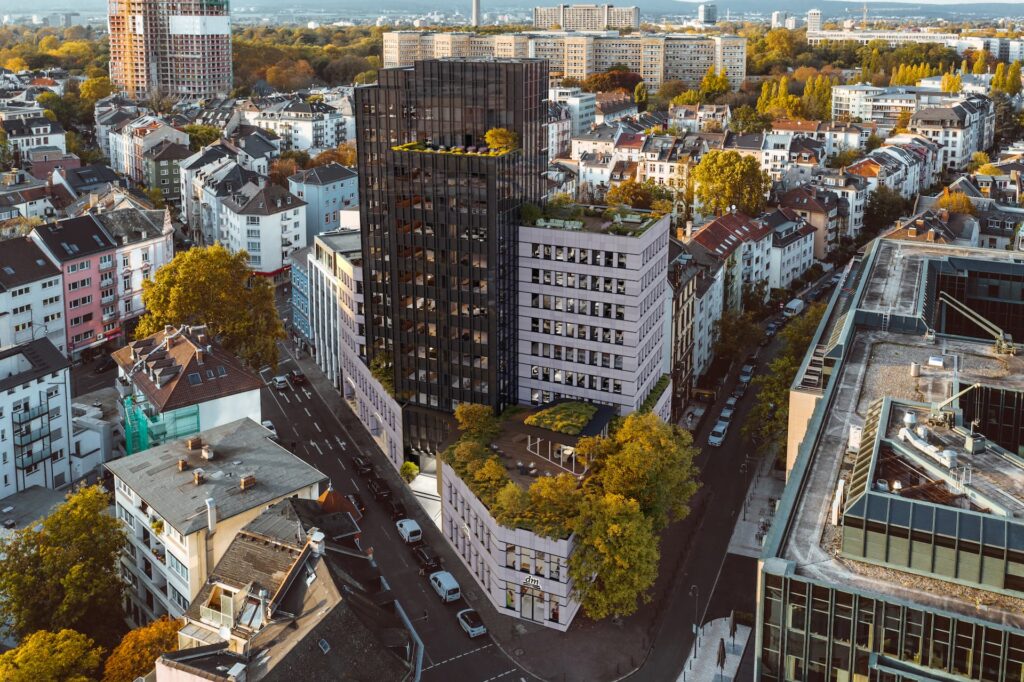
As the 3D rendering above: the new building is put into existing drone image and it shows how nicely the new building fits into the existing surroundings.
9. Apply Depth of Field
Depth of field is a powerful tool in creating photorealistic images. By blurring parts of the scene that are not in focus, you can mimic the way cameras capture real life, adding a sense of depth and focus to your renderings.
10. Iterate and Refine
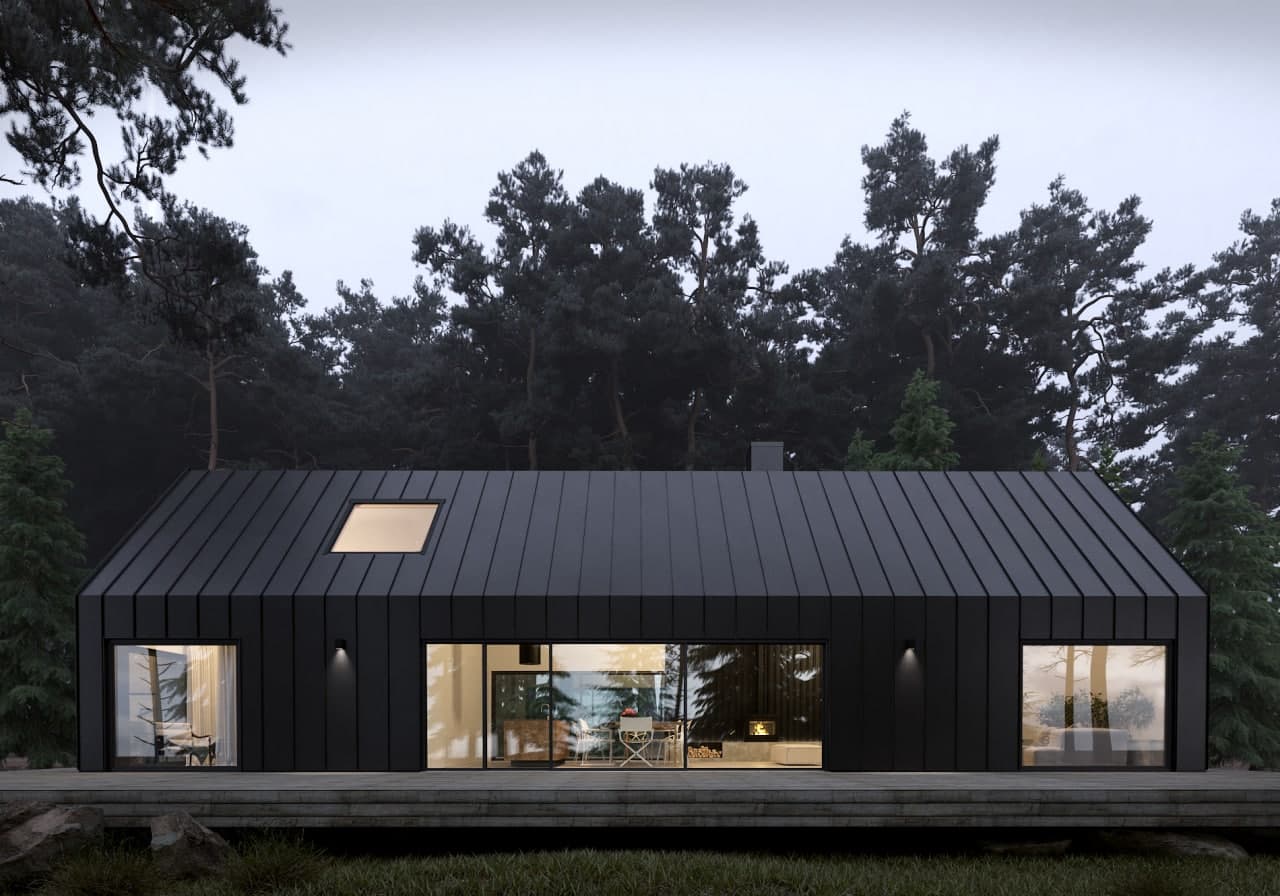
Creating photorealistic surroundings is a process of continuous improvement. Don’t hesitate to iterate on your renderings, seeking feedback from peers or potential viewers. Refinement is key to achieving the highest level of realism in your projects.
Conclusion: Photorealistic surroundings
At Archvisualizations 3D Studio, we believe that the pursuit of photorealism in exterior renderings is not just about technical proficiency but also about storytelling. We always try to make all the renderings as photorealistic as possible, so it gets hard to differentiate from the real-life photography and our 3D renderings.
By following these tips, you can create engaging, realistic environments that resonate with viewers, bringing your architectural visions to life with unprecedented clarity and impact.
Remember, the goal is not just to impress but to immerse your audience in a space that feels both visionary and unmistakably real. With practice, patience, and a keen eye for detail, you can elevate your 3D exterior renderings from mere presentations to captivating visual experiences.


