The Art of Realistic Wood Textures in 3D Renderings
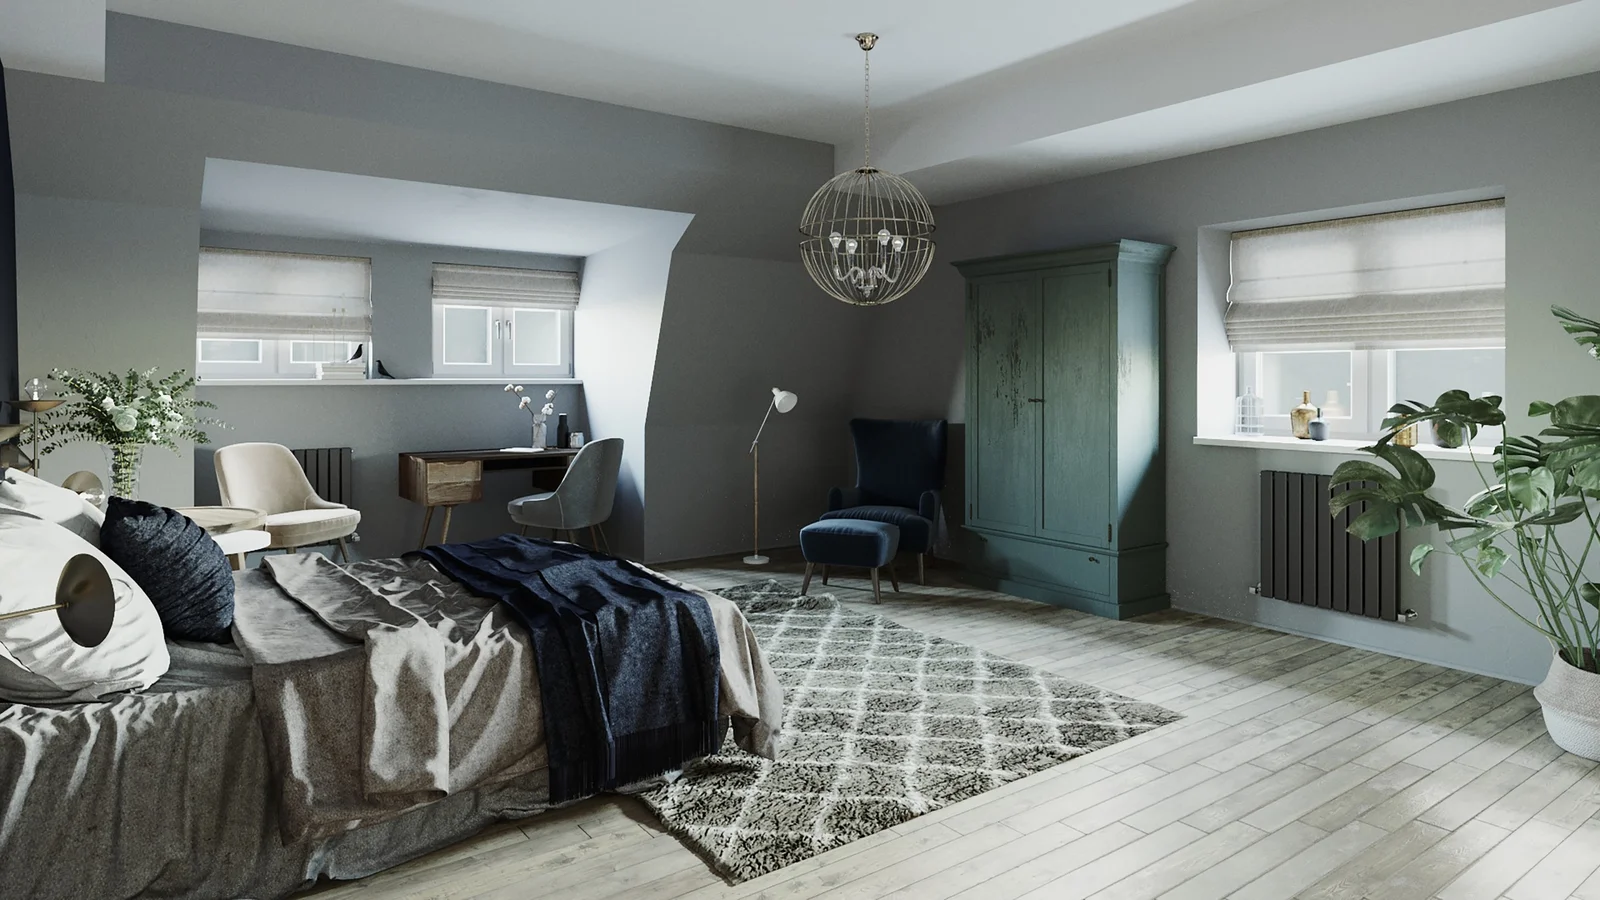
The world of 3D rendering is vast and complex, filled with an array of techniques and skills to master. One such technique that consistently captivates audiences is the creation of realistic wood textures. The ability to mimic the intricate designs of nature, particularly wood, can bring a sense of warmth and authenticity to your 3D designs. Whether you’re a seasoned professional or a budding beginner, enhancing your skills in creating realistic wood textures can significantly elevate your 3D renderings.
Understanding the Basics of Wood Texture in 3D Renderings
Before diving into the intricacies of creating realistic wood textures, it’s crucial to understand the basics. This section aims to elucidate the fundamental concepts, techniques, and tools necessary for mastering this art form.
What is Wood Texture in 3D Rendering?
Wood texture refers to the visual and tactile quality of a 3D object that mimics the appearance of real-life wood. It’s an essential part of 3D rendering, as it adds depth, realism, and character to your designs. Wood texture is not merely about creating a brown surface; it involves capturing the intricate patterns, grains, and tones that make up the unique character of different types of wood.
Key Concepts in Wood Texture Rendering
Creating realistic wood textures requires an understanding of several key concepts. First, the ‘Bump Mapping’ technique is commonly used to create the illusion of depth and texture on a surface without needing to modify the geometry of the 3D model. Second, ‘Texture Mapping’ is the process of applying a texture to a 3D model. It involves wrapping 2D images around a 3D object to create the desired visual effect. Lastly, ‘UV Mapping’ is a technique used to ‘unwrap’ a 3D model so that a 2D texture can be applied accurately.
The Tools for Creating Wood Textures
There are numerous software tools available to create wood textures in 3D renderings. Some of the most popular include Autodesk’s 3DS Max, Blender, and Adobe’s Photoshop. These software options provide a comprehensive set of tools for creating, editing, and applying textures to 3D models. Each tool has its strengths and learning curves, but all are capable of producing high-quality, realistic wood textures.
Mastering the Art of Realistic Wood Textures in 3D Renderings
Understanding the Basics of Wood Texturing
Before diving into the details of creating realistic wood textures, it’s essential to understand the basics. Wood is a natural material with a rich variety of textures, colors, and patterns, all of which can contribute to the realism of a 3D rendering.
When creating a wood texture, consider the type of wood you want to depict. For instance, pine has a soft, light-colored grain, while mahogany has a deep, rich color and intricate grain pattern. By observing and studying real wood samples, you can gain a better understanding of how to replicate these textures digitally.
Using high-quality reference images can also be beneficial. These images can serve as a guide when you’re creating your texture maps and can help ensure accuracy in your renderings.
Using Digital Tools to Create Realistic Wood Textures
Creating realistic wood textures requires the use of digital tools like Photoshop and 3D rendering software. These tools allow you to create detailed texture maps that can mimic the look and feel of real wood.
In Photoshop, you can use various tools and techniques to create a base texture. This includes using the Brush tool to paint the wood grain, using the Burn and Dodge tools to add depth and dimension, and using the Noise filter to add a subtle texture.
Once your base texture is complete, you can import it into your 3D software and apply it to your model. Most 3D software packages allow you to adjust the scale, rotation, and position of your texture to ensure it fits your model correctly.
Enhancing Realism through Lighting and Shading
Beyond creating a realistic texture, the lighting and shading in your 3D rendering can significantly impact the believability of your wooden material.
Lighting plays a crucial role in highlighting the texture and depth of the wood. By adjusting the light direction, intensity, and color, you can accentuate the wood grain and give the material a more realistic appearance.
Shading, on the other hand, can add depth and dimension to your wood texture. By using techniques like bump mapping and normal mapping, you can simulate the small imperfections and irregularities found in real wood.
Mastering the art of realistic wood textures in 3D renderings requires patience and practice, but with the right tools and techniques, you can create stunning, lifelike materials that add depth and realism to your 3D models.In conclusion, the art of realistic wood textures in 3D renderings is a complex yet rewarding process. It requires a blend of technical skills, artistic insight, and a keen understanding of natural elements. With the right tools and techniques, you can create incredibly lifelike digital wood patterns that bring your designs to life. From the grain details to the color variations, every aspect contributes to the overall realism of the 3D model. So, whether you’re an experienced 3D artist or a beginner, mastering the art of realistic wood textures can significantly enhance the quality of your 3D renderings and set your work apart.


